Hello everyone! I am popping in to share with you a card I recently created using one of the new Tim Holtz Dies called "The Gent". What a wonderful set this is and I thought it would be perfect to create a St. Patty's Day card.
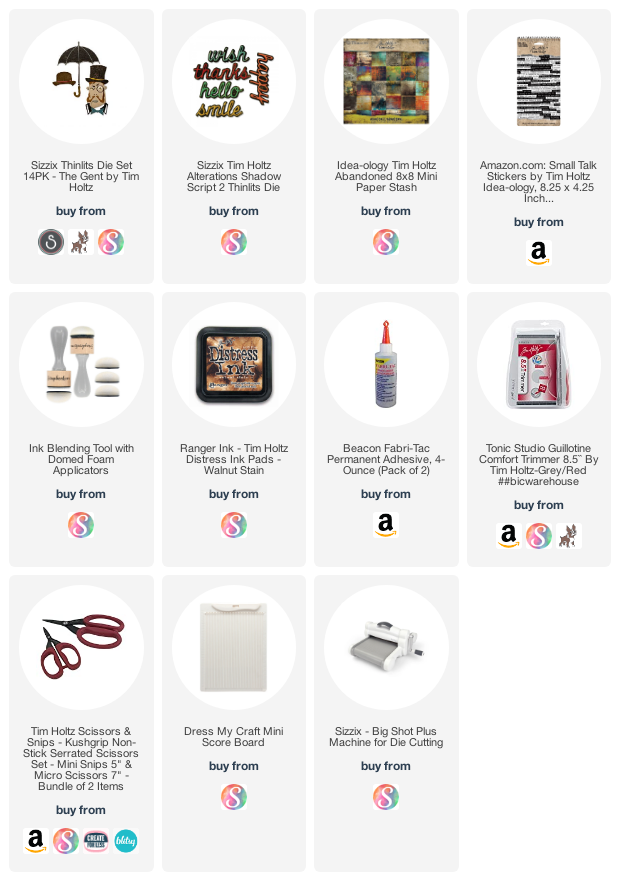
This die set had 14 pieces, and I think I used 13 of them. I used some of Tim's cardstock as well as some ephemera to create a fun background. I love it when I get sets that have extras like the hats and umbrellas as they can be mixed and matched with other set in the future.
I am entering this card in the Monday Simon Says Stamp Challenge where the theme is Green. Don't forget I also have a monthly challenge happening right now with an optional theme of Lucky. I would love for you to link up your creations as well!
Hi everyone! With Valentine's Day around the corner, I thought I would share with you a masculine Valentine's Day card using the Dapper Stamp From Stampers Anonymous.
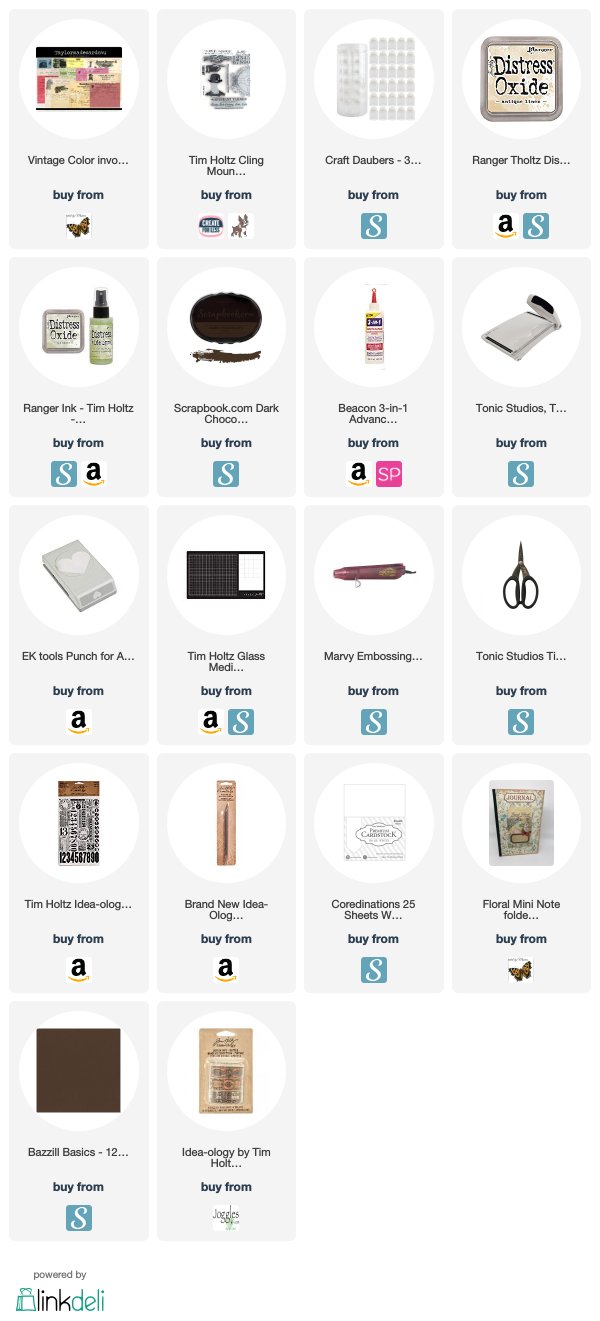
This stamp has been on my wish list for some time, and I am happy that I finally have it. There are so many possibilities with this stamp. For my background, I am using my vintage invoice set from my shop. I adjusted the color to a sepia tone to create a more vintage look.
While this design can easily be placed on a card, I actually created an insert for one of my journals.
I also have a process video over on my YouTube Channel for you to check out.
Hi friends! I am so excited about the new idea-ology product that Tim is releasing this year that I decided to sit down and create! My favorite line of his is by far the idea-ology. Now Don't get me wrong, I couldn't create this rusty grunge without his distress line, but I love how the idea-ology brings it to life.
This week's Monday challenge over at SSS is home decor. I don't typically enter challenges, but I decided to enter my projects this week.
I created two process videos showing how this was put together. The first video focuses on creating a Rust background that you see on the voltage die.
The second video is how I used that die as my focal piece on my tags. These tags are the ectetera tags from Tim Holtz and make great decor pieces. I created two voltage plates, so I was able to actually create two finished projects. I have them both hanging on my wall in my studio!
Hello crafty friends! Welcome to My favorite crafty Tool hop! Me and a few friends got together to share with you some of our favorite crafting tools.
Now my favorite tool is not necessarily the one I use most often, but it is one I can't image doing without. It helps me create my favorite type of crafting and distresses it perfectly. Have you guessed my favorite tool? Well you just have to watch my video to find out.
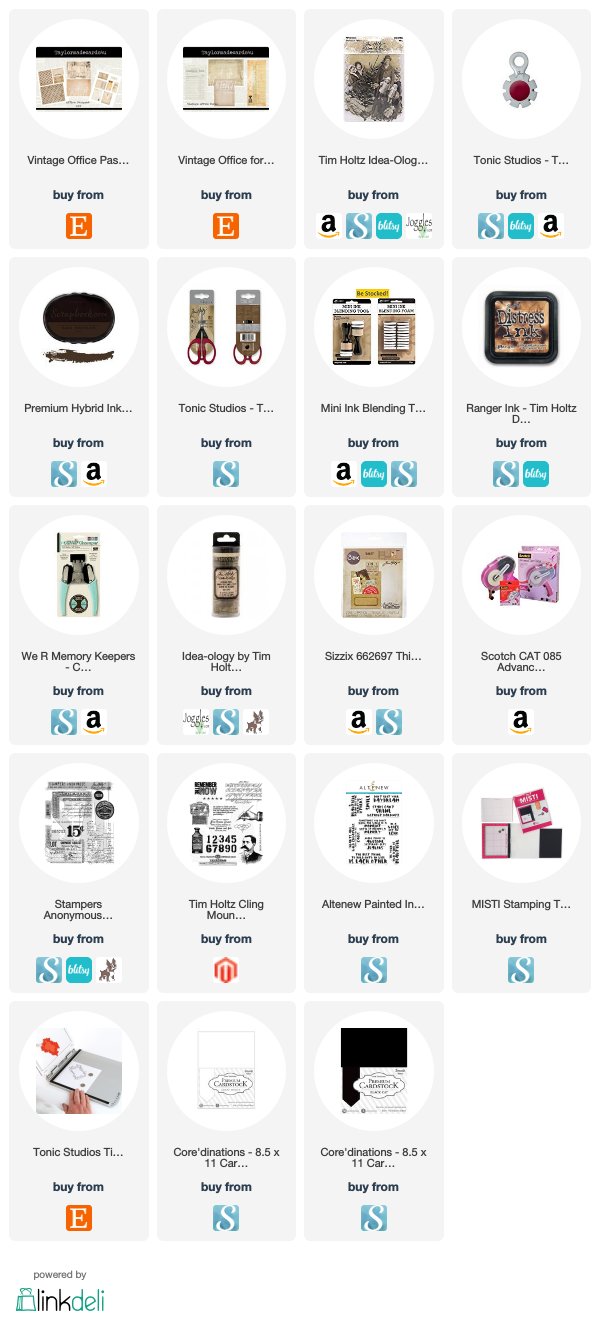
I just love my little time cards don't you? They are part of my digital Office Forms collection and go perfectly with my Office Passport Kit that was released earlier this month. You can find both of these over in my etsy shop.
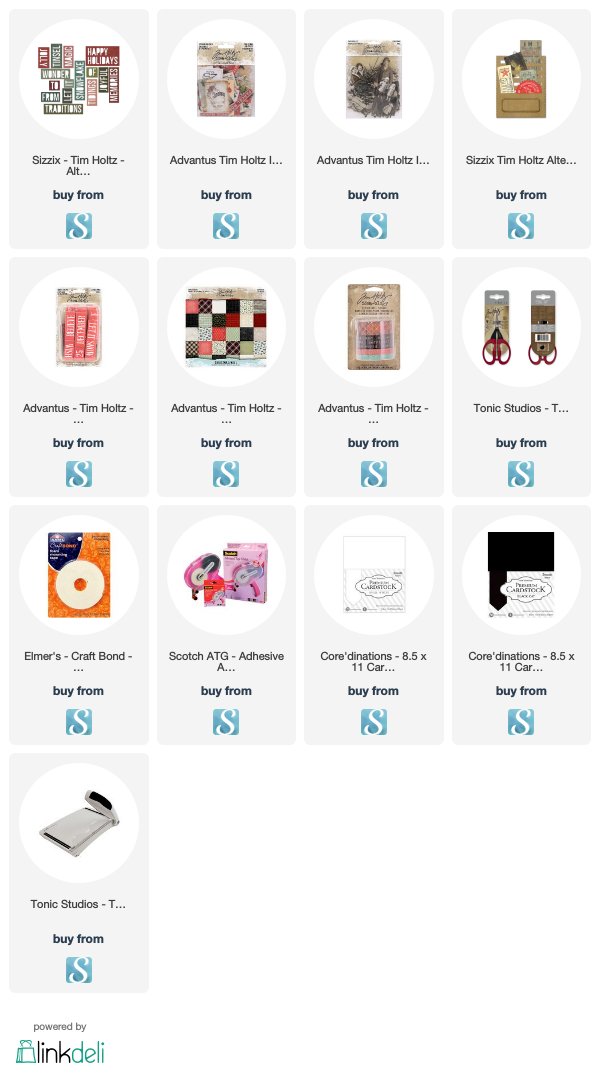
SUPPLIES
Want to find the products I used? I have listed them below. (Compensated affiliate links used at no cost to you. Thank you! All products were personally purchased and my post was NOT paid for or sponsored.) Click on the icons below each product picture.
Hi everyone! Well I finally got a chance to get grungy in my craft room. I have had an idea about an ongoing series for my You Tube Channel using one stamp set to create a Masculine and Feminine Card.
You can check out my process video below.
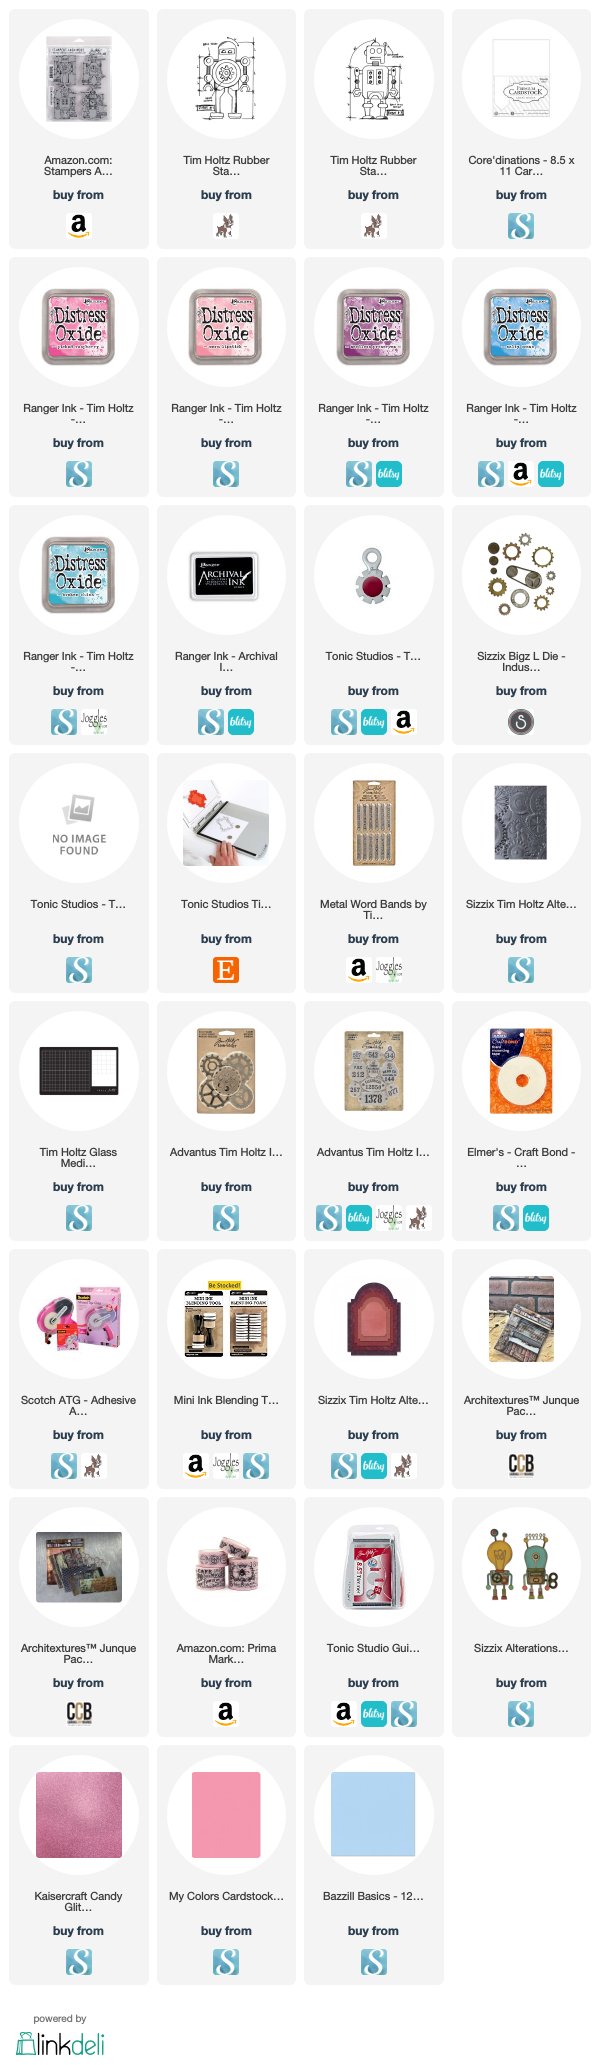
I used many of the same techniques for both cards, but as you can see, one is clearly a girl robot and the other is a boy robot. For the girl, I didn't use as many gears, but focused more on the color Pink.
for the boy robot, I went all industrial and even hooked him up to a conveyor belt. While both cards came from the same set, you can see that you can easily create a male or female card, helping our stash to just go a little bit farther.
Thanks for stopping by!
SUPPLIES
Want to find the products I used? I have listed them below. (Compensated affiliate links used at no cost to you. Thank you! All products were personally purchased and my post was NOT paid for or sponsored.) Click on the icons below each product picture.
He friends! I am here to share with you my Love Potion Valentine's Day card using the Stampers Anonymous Stamp set called Laboratorie.
Now this by no means is a new stamp set, but I love it because there are so many possibilities with it. Of course it is great for Halloween, but the Apothecary them can also translate into a "Love Potion" design as well. And we all know that Love potions are great for Valentines's Day.
For my complete process, be sure to check out my video below.
Not everyone loves the frilly Valentine Cards, so this one is perfect for those "no frill" Valentines, but still gets the message across.
I used 3 dies for this design. One of the new dies in my stash is the Lawn Fawn Lift Tab set. I added the Sizzix pocket die under the lift tab to house all my love potions that I will be creating.
The pocket is so fun and perfect to hold all of my love potions as well as my ingredients for my spell. Thanks for stopping by.
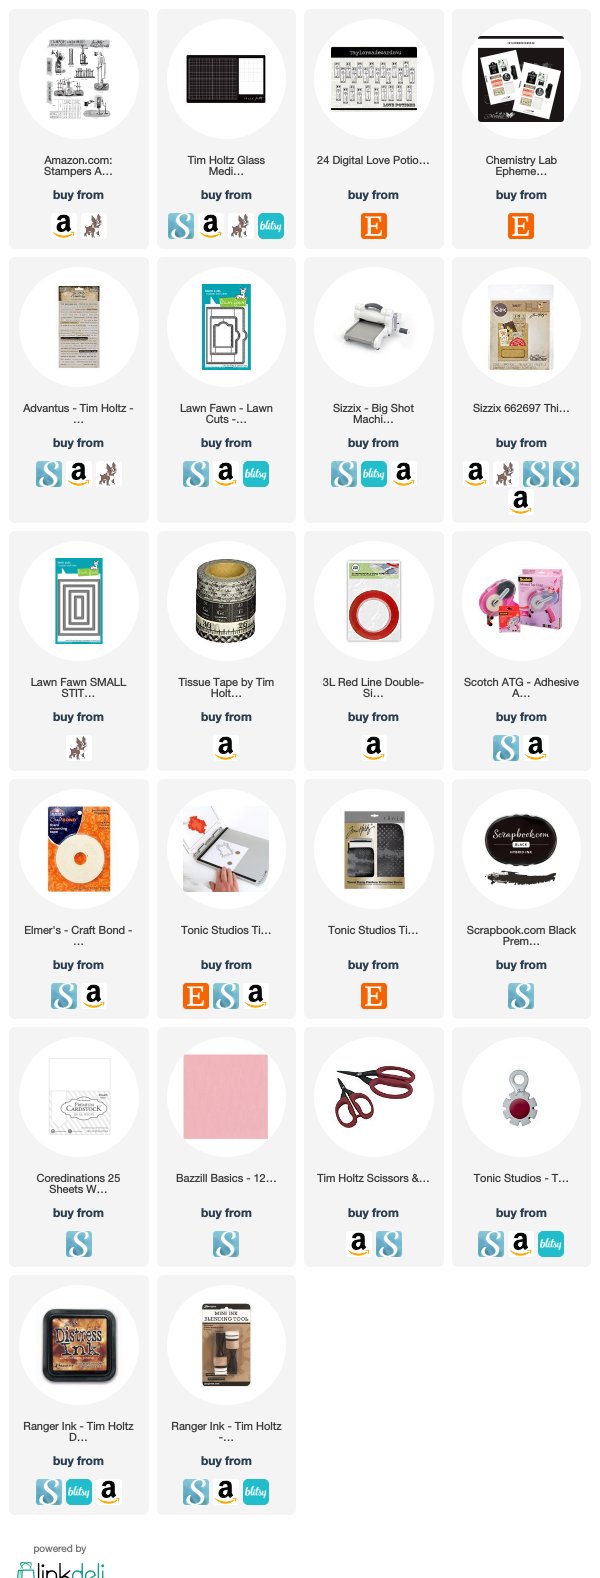
SUPPLIES
Want to find the products I used? I have listed them below. (Compensated affiliate links used at no cost to you. Thank you! All products were personally purchased and my post was NOT paid for or sponsored.) Click on the icons below each product picture
Hi everyone and Happy Monday. I am here today to share with you a Valentine Card design I call my floating heart Valentine.
I received a couple of the 3D texture fades for Christmas and I was anxious to try one of them out. I can't believe how deep the embossed impressions are using the 3D texture fades. While trying them out and playing with them, I had an idea for a design, and the idea for the floating heart Valentine was born. You can check out my process video below.
I was able to use a lot of my product creating these Valentine cards. I had not played with my Distress Crayons in quite some time, so it was nice to pull them out and give them some use.
I was able to also use some of my metal Idea-ology items as well. I love how the metallic distress crayons worked on this embossed cardstock. THe glitter heart is so vibrant matted on top of the embossed panel.
I didn't have another number 14 metal plaque, so instead I used one of my die cuts. I think both cards turned out great. Hope you do too. Thanks for stopping by!
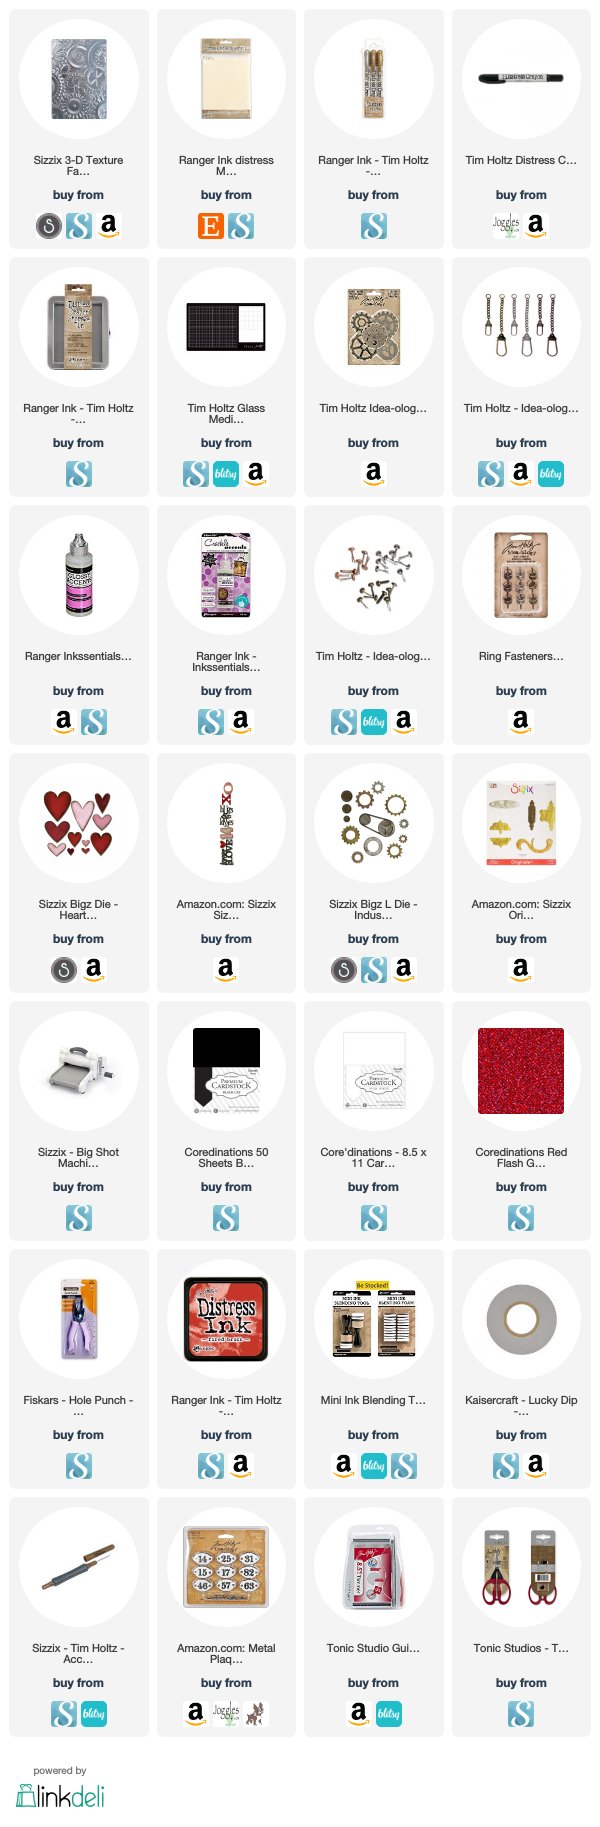
SUPPLIES
Want to find the products I used? I have listed them below. (Compensated affiliate links used at no cost to you. Thank you! All products were personally purchased and my post was NOT paid for or sponsored.) Click on the icons below each product picture to the shop of your choice.
Hi everyone! With the year coming to an end...I thought I would share with you my top 10 videos of 2018. Some you may remember, but some may be new to you as well. Enjoy and have a safe and happy new year!
With over 4K views, this was my post popular video in 2018!
ATC Coins with Tim Holtz Paper Dolls.
My top second was no where near my most popular with over 2.5K views, but is is a top contender.
How to Create ATC using Tim Holtz Side Kick
Tim Holtz seems to be a popular theme. this video came in second with 1,786 views.
Vintage Layered Cards
Another popular Tim Holtz video came in at 1,760 views.
Pocket tag using Tim Holtz Pocket die.
Here is another video where I am demonstrating the Tim Holtz Ticket Dies. This video had 1,688 views.
Creating your own Ticket Ephemera
In 2018, I got into creating art journals. This was my first video of 2019 and comes in 6th place with 1,604 views.
Art Journals for beginners
My March art journal page did pretty well also, coming in at 1,541 views.
Art Journals for Beginners - March
Coming in at number 8 is a Spring mixed media card using tissue paper. This video had 1,385 views.
Spring Card using Tim Holtz Collage paper
My passport books made an appearance at number 9 having 1,378 views.
How to create a Passport book
And finally, my 10th watched video in 2018 was my Tim Holtz Fall Collage card with 1,324 views.
Fall collage Card
As you can see, 2018 was a busy year for me. I am excited for 2019 and I hope to continue to inspire you and share my designs with you. Thanks so much for supporting me and my channel!
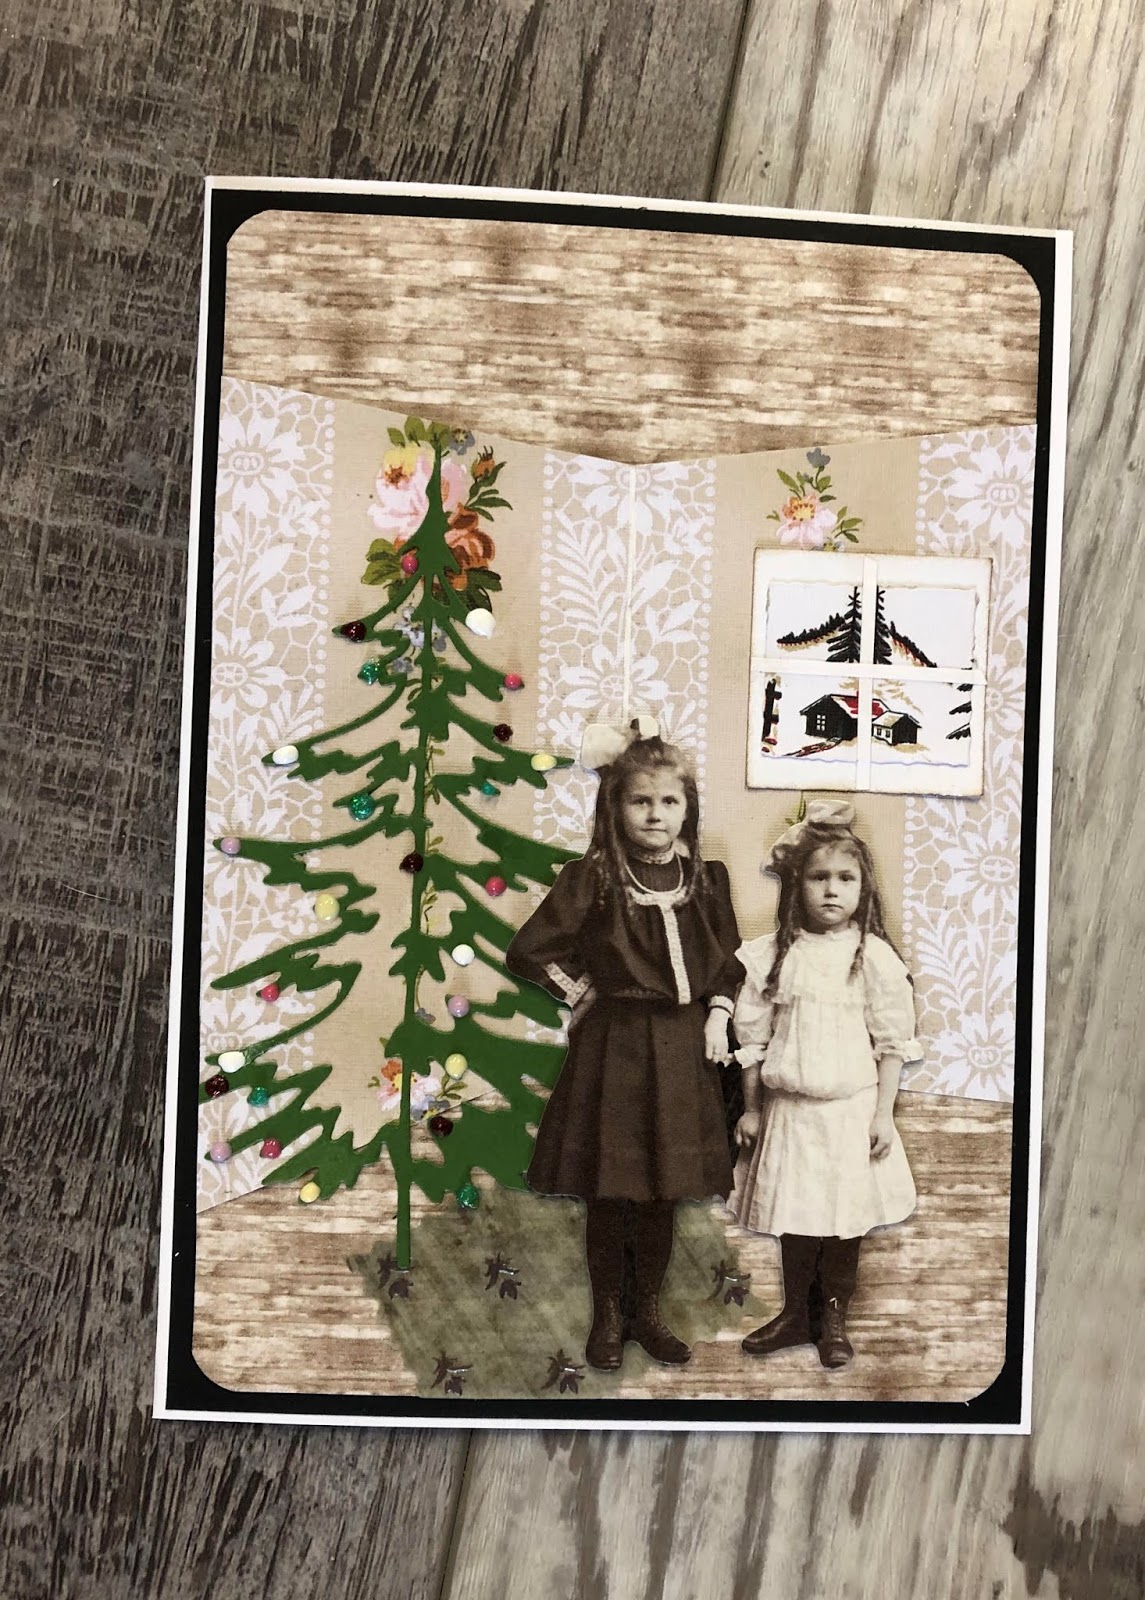
Hi everyone. I am here to share with you a card I created using the Tim Holtz Wallpaper. Hopefully it will bring back some memories of you and siblings in front of your Christmas tree.
If you would like to see my process video, you can check it out below.
I wanted to create a room that had some perspective, so I created a template from an image I found on line.
From there, I cut out the wall paper, and used some washi tape to create the wood floor. The ceiling was created using texture paste.
The Christmas wallpaper this year has some great scenes of winter in the outdoors. It was perfect to use for my window. Thanks for stopping by!
Hi everyone! I am here today to share with you one of the cards I will be creating this year to send to family and friends. I have been rummaging through old photos and came across this old family photo that I thought would make a great Christmas card.
I used the Tim Holtz die to create a frame for this photo and embellished it with some mini ephemera. You can watch my process video below.
Old vintage Christmas photos make great additions to your Christmas cards, especially when they are your old family photos. These are easy to create and do not take much time at all to put together. In my video, I show you different ways you can decorate your frame to make each card unique. Have fun!
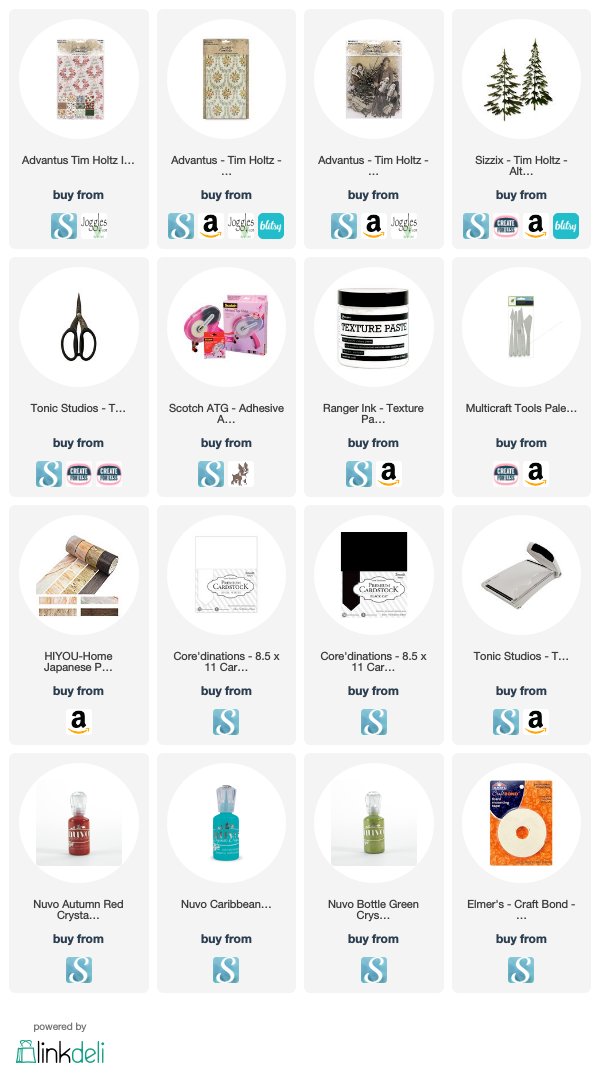
SUPPLIES
Want to find the products I used? I have listed them below. (Compensated affiliate links used at no cost to you. Thank you! All products were personally purchased and my post was NOT paid for or sponsored.) Click on the icons below each product picture to take you to your favorite store.
Hi everyone. I am here today sharing my most recent project and video. Sometimes my ideas and inspiration come from the strangest places and this one is no exception.
Many of us remember the Peanuts comic strip. Lucy had a booth, kind of like a lemonaide stand where she offered Psychiatric advice for 5¢. So instead of offering psychiatric advice, I decided to offer elixers & Potions. If you would like to see my process video, you can check it out below.
I created the booth using the Sizzix postage die and some paper from the new Halloween Tim Holtz collection. I also used some ephemera and stickers to decorate the booth.
I also decided it would be fun to create a matching card. I really wanted to use that 5¢ remnant rub. I have a few more Halloween cards and videos to post before the month is over. I hope that you check out my video and subscribe to my channel so that you don't miss a post. Thanks for stopping by.
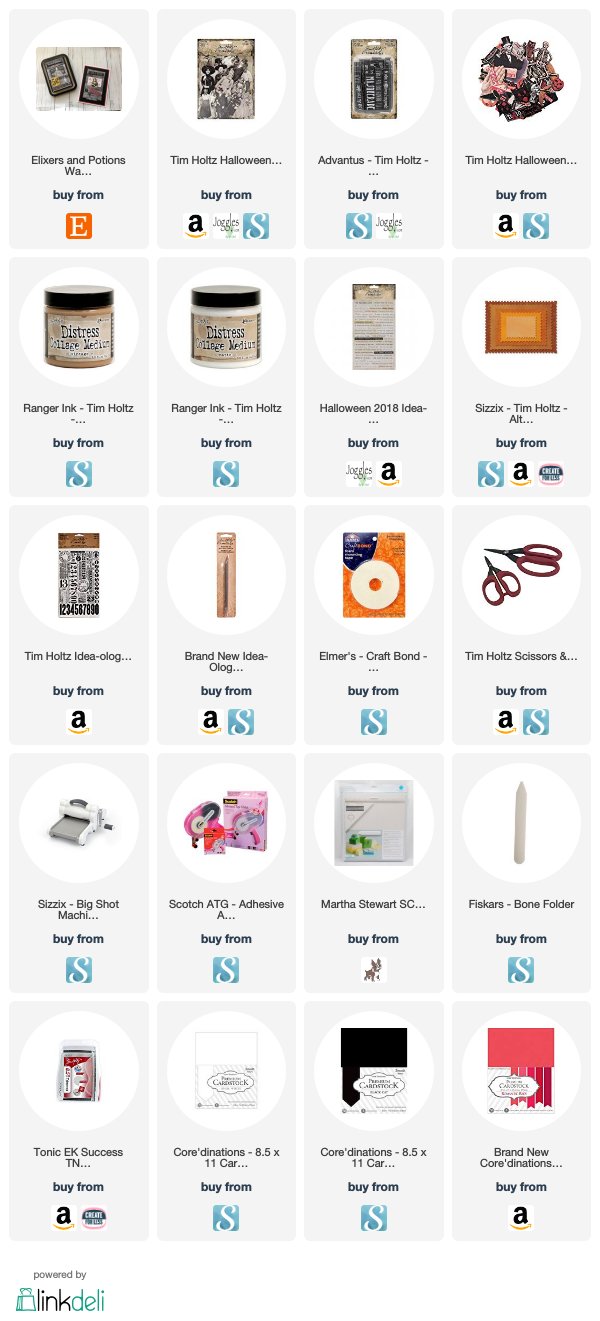
SUPPLIES
Want to find the products I used? I have listed them below. (Compensated affiliate links used at no cost to you. Thank you! All products were personally purchased and my post was NOT paid for or sponsored.) Click on the icons below each product picture to take you to your favorite store.
Hi everyone and Happy Friday! Today is my last day in my 7 days of Halloween series. It has been a lot of work, but I have had a lot of fun on the way. So many of you have been so kind and have left me some lovely comments on my You tube channel and I want to thank you for that. You can check out my process video below where I walk you through the steps in putting together this Zombie card breaking out of a brick wall.
I used a masking technique and texture paste to get the results you see. The blood splatters were created using Distress stain and my zombie was colored up using some copic markers.
I loved this technique so much I created a second zombie card.
I just love the sentiment on this one. Be sure to check out the videos over on you tube. I will be giving away one of the stamp sets that I used in my series this week, but you need to comment on all my videos in the series. I have provided a list of products along with links to the stores sharing the products I used for this card. I hope you enjoyed the series. Thanks for stopping by!
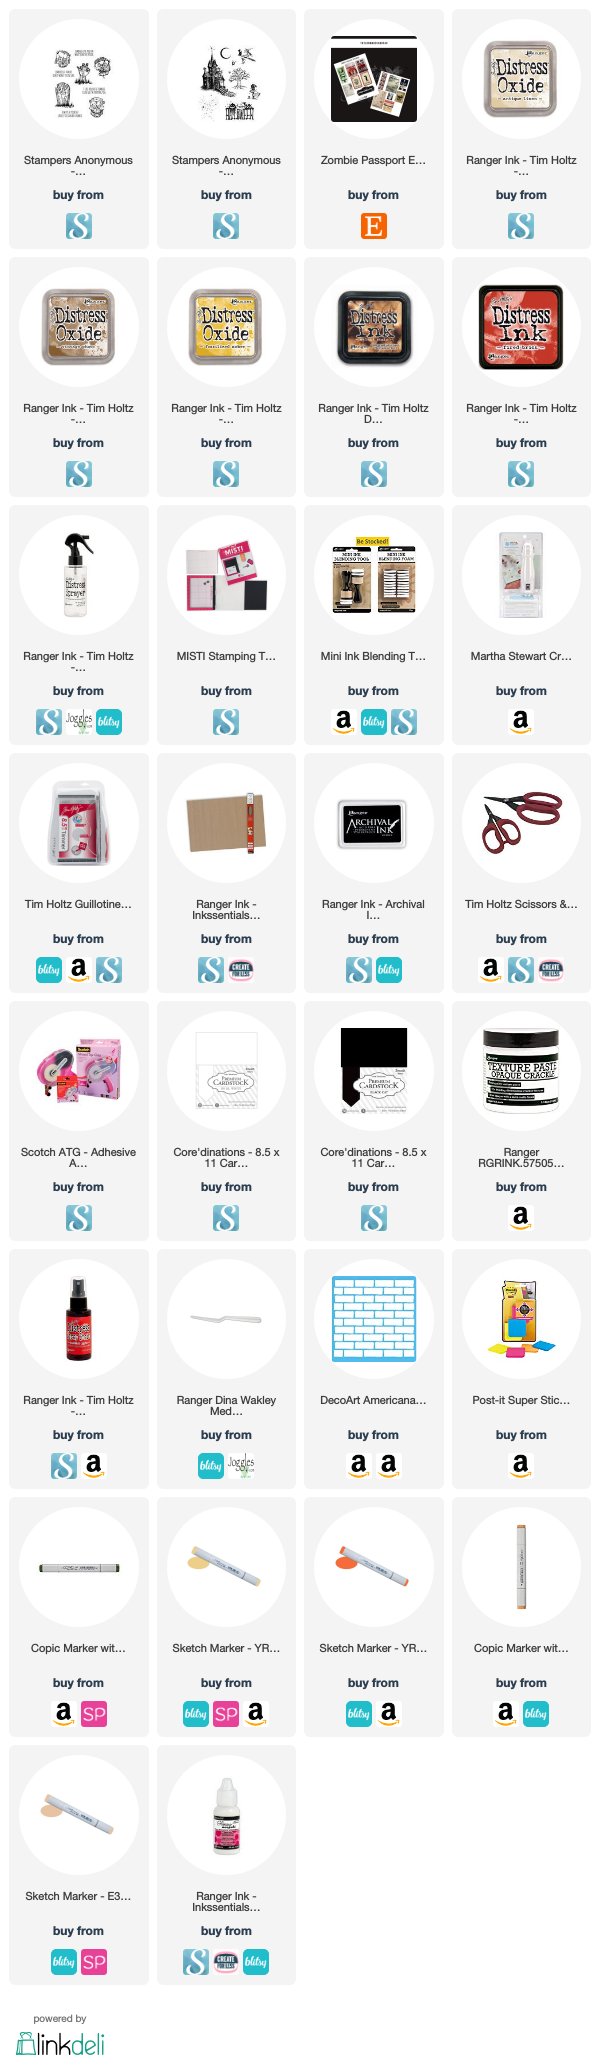
SUPPLIES
Want to find the products I used? I have listed them below. (Compensated affiliate links used at no cost to you. Thank you! All products were personally purchased and my post was NOT paid for or sponsored.) Click on the icons below each product picture to take you to your favorite store.