Showing posts with label Halloween. Show all posts

Halloween Passport Card

Hi everyone! I am here today sharing with you my last Halloween project for the season.  As a designer and shop owner, I have to really stay ahead of the season as much as possible and I am diligently working on my Christmas projects and videos at this point. But I wanted to take a moment to share with you my last project, which is a passport card.


Passport cards are one of my favorite designs and they work for any occasion. The base of the card is very easy to create and the theme can be changed up to work for any occasion.

The base of the card is 7 inches wide by 5.5 inches tall. It is scored at 2.5 inches.  Then the card is flipped on it's side and scored again at 3.5 inches.  The second piece of cardstock is cut at 4 inches by 4 inches and scored about 1/4 inch.

You can see my complete process video below.


My favorite part of the card is of course decorating it. I use lots of fun ephemera. I have also started creating my own ephemera which you can find in my etsy shop.


The second page of my card has a fun Halloween night poem that I created and I also included a spooky library card. 


For the last page, I adhered the pocket die and cut out some tickets to insert into the slots. It is a fun card to give and creates a great keepsake.

Thanks for stopping by!


SUPPLIES

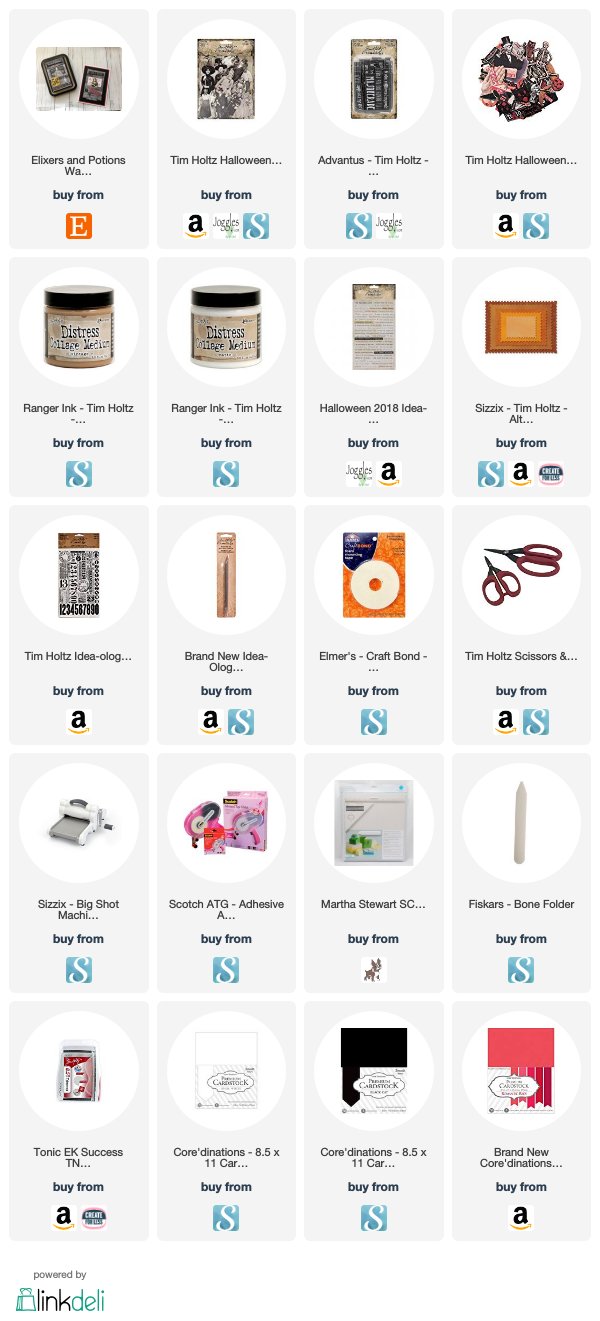
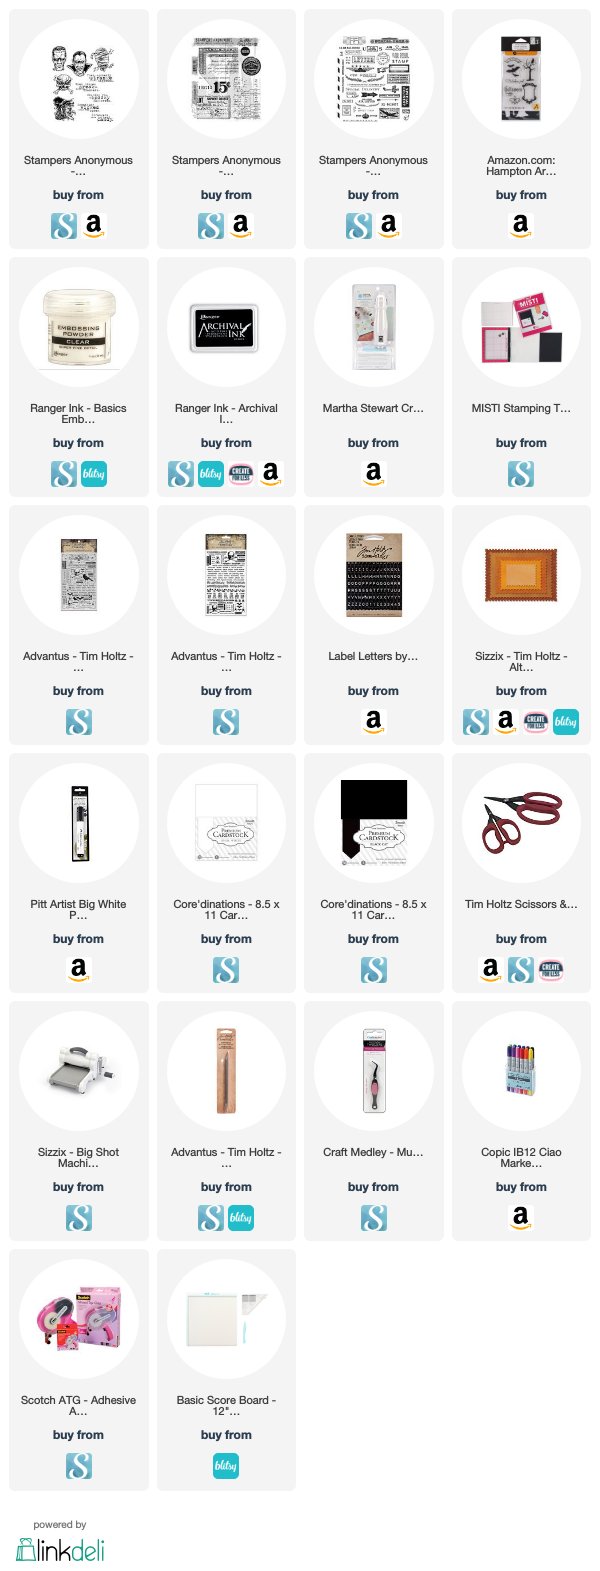
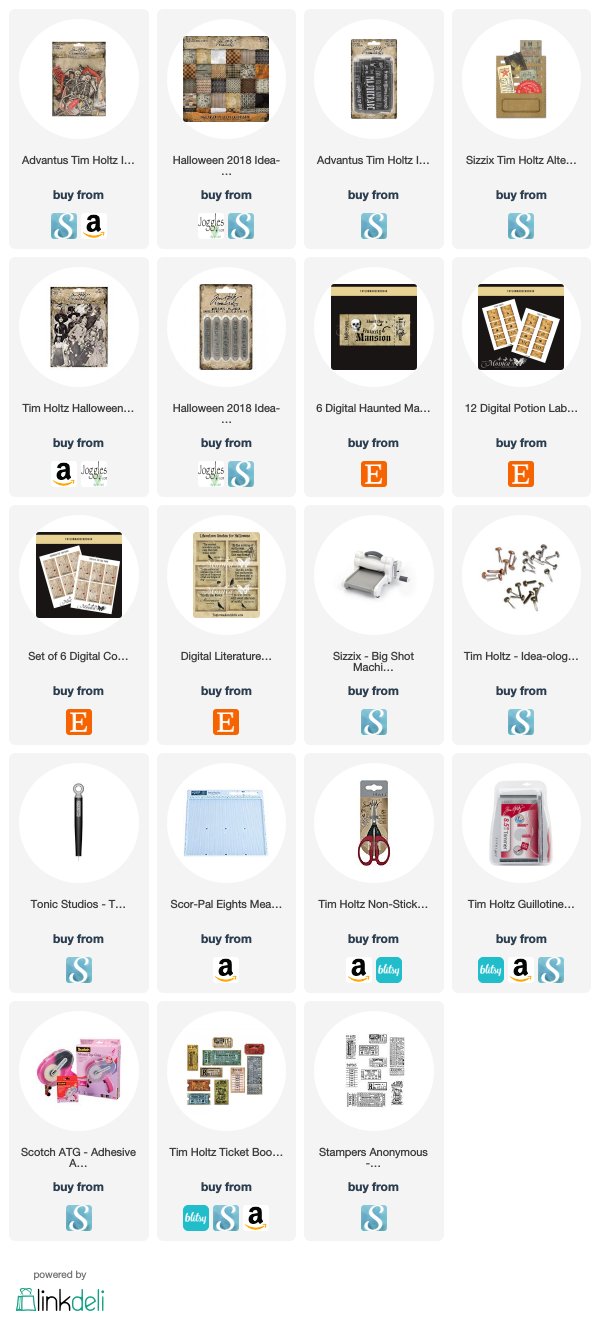
Want to find the products I used? I have listed them below. (Compensated affiliate links used at no cost to you. Thank you!  All products were personally purchased and my post was NOT paid for or sponsored.) Click on the icons below each product picture to take you to your favorite store. 
The Dr. is in...

Hi everyone. I am here today sharing my most recent project and video. Sometimes my ideas and inspiration come from the strangest places and this one is no exception.  


Many of us remember the Peanuts comic strip. Lucy had a booth, kind of like a lemonaide stand where she offered Psychiatric advice for 5¢. So instead of offering psychiatric advice, I decided to offer elixers & Potions. 

If you would like to see my process video, you can check it out below. 


I created the booth using the Sizzix postage die and some paper from the new Halloween Tim Holtz collection. I also used some ephemera and stickers to decorate the booth.


I also decided it would be fun to create a matching card. I really wanted to use that 5¢ remnant rub.

I have a few more Halloween cards and videos to post before the month is over. I hope that you check out my video and subscribe to my channel so that you don't miss a post.

Thanks for stopping by. 


SUPPLIES

Want to find the products I used? I have listed them below. (Compensated affiliate links used at no cost to you. Thank you!  All products were personally purchased and my post was NOT paid for or sponsored.) Click on the icons below each product picture to take you to your favorite store. 

Friday Freebie - Arsenic Label

Hi everyone. Today I am sharing a label that is great to use in your Halloween Decorating. This Label is a JPG and can be resized to meet your crafting needs.  


The original was found over at the Graphic Fairy, but I modified the other two to give you some color options. 

To down load these, just click on the image and save to your computer. If you do decide you can't live without these and download them, please leave me a note and let me know you stopped by.

Happy Crafting!


7 Days of Halloween - Day 7 More Zombies!

Hi everyone and Happy Friday! Today is my last day in my 7 days of Halloween series. It has been a lot of work, but I have had a lot of fun on the way. So many of you have been so kind and have left me some lovely comments on my You tube channel and I want to thank you for that. 

You can check out my process video below where I walk you through the steps in putting together this Zombie card breaking out of a brick wall. 


I used a masking technique and texture paste to get the results you see. The blood splatters were created using Distress stain and my zombie was colored up using some copic markers. 


I loved this technique so much I created a second zombie card.


I just love the sentiment on this one. 

Be sure to check out the videos over on you tube. I will be giving away one of the stamp sets that I used in my series this week, but you need to comment on all my videos in the series.

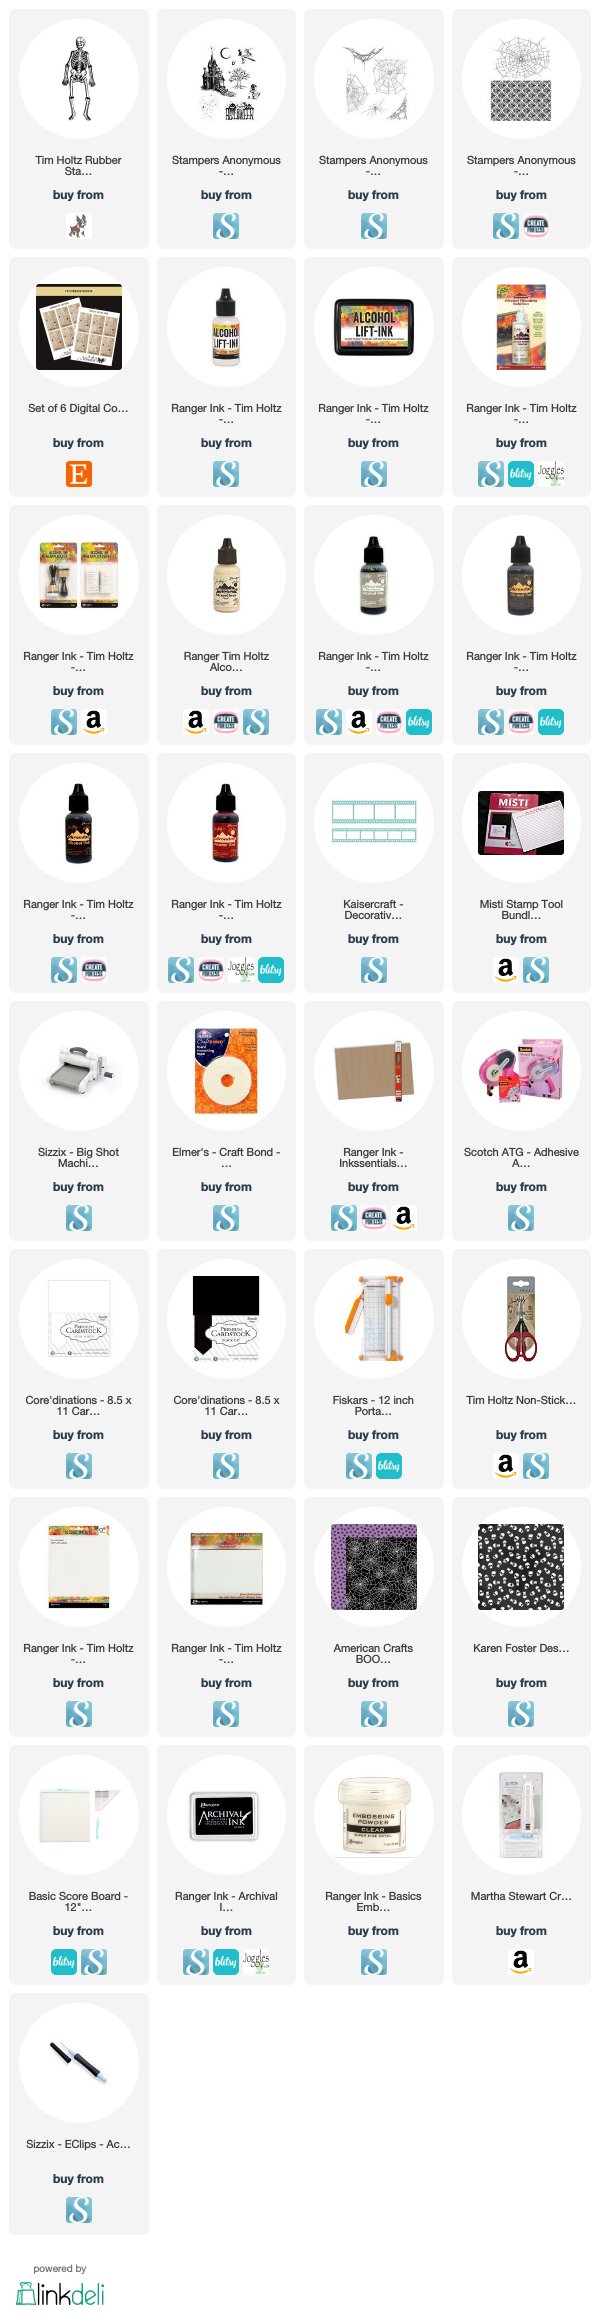
I have provided a list of products along with links to the stores sharing the products I used for this card.

I hope you enjoyed the series. Thanks for stopping by!


SUPPLIES

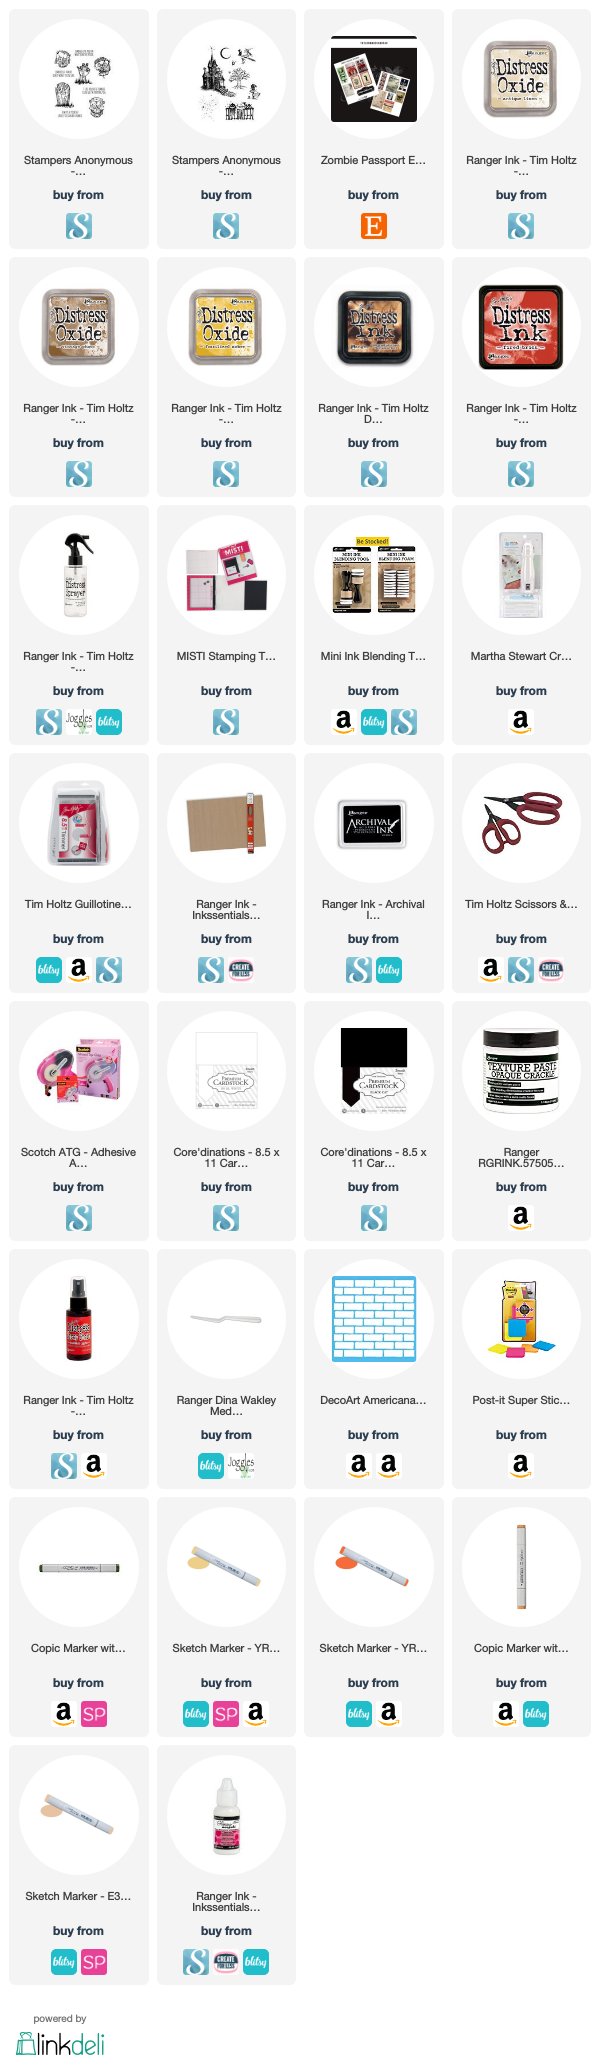
Want to find the products I used? I have listed them below. (Compensated affiliate links used at no cost to you. Thank you!  All products were personally purchased and my post was NOT paid for or sponsored.) Click on the icons below each product picture to take you to your favorite store. 

7 Days of Halloween - Day 6 Layering

Welcome to day 6 of my 7 days of Halloween series. Today we will be layering a card using some stamps, ephemera, stickers and remnant rubs.


Layering is definitely one of my favorite techniques, but I know a lot of you have trouble covering up some of your images.  You can watch my process video below and hopefully it will give you some ideas for your layered cards. 


The stamp set is from Inkadinkadoo and is a great set for a chemistry theme'd card.  I also created some of my own ephemera using a lab book I found in a thrift store along with a vintage chemistry book.  


Be sure to pop over to my etsy shop to check out some of this fun Chemistry lab ephemera.

I provided a list of the products I used to create this card below. Thanks for stopping by. 


SUPPLIES

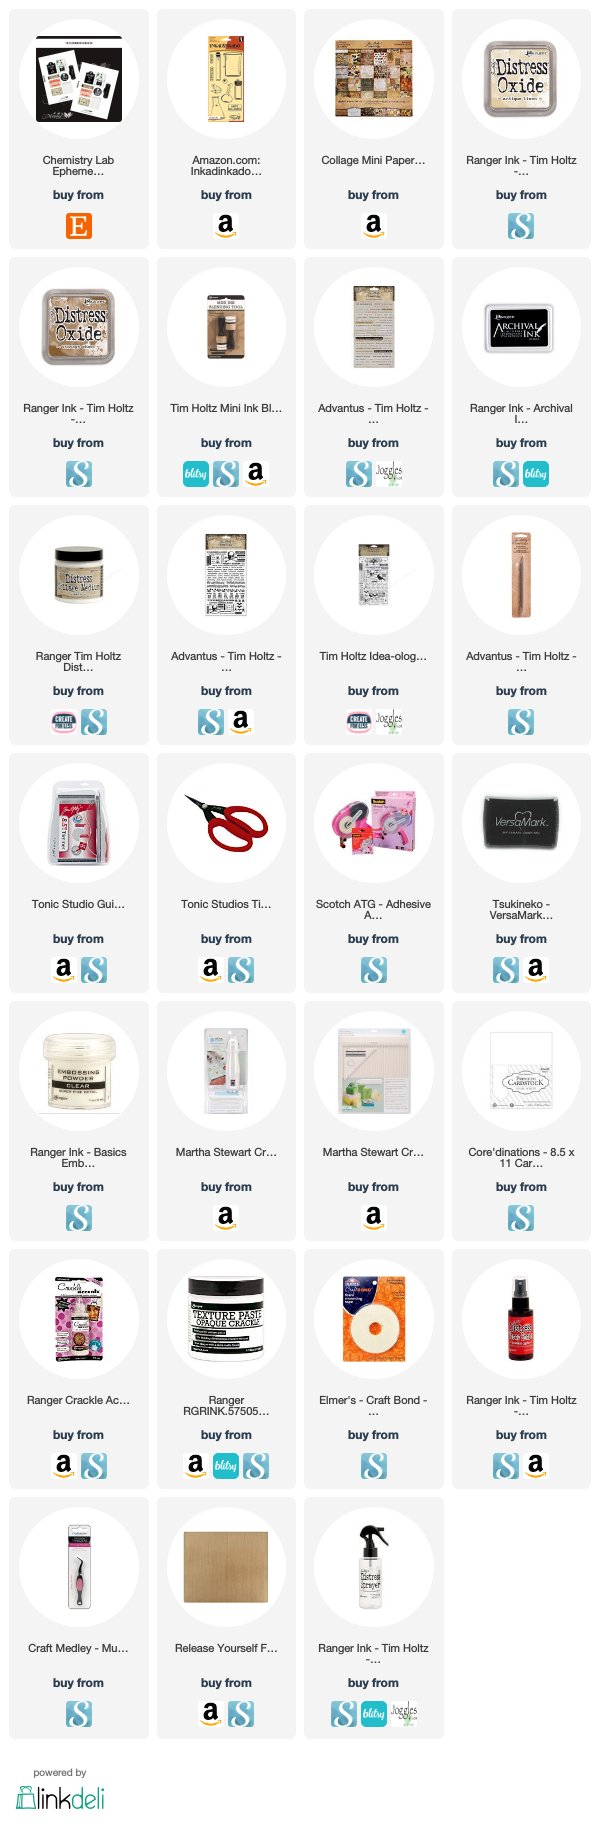
Want to find the products I used? I have listed them below. (Compensated affiliate links used at no cost to you. Thank you!  All products were personally purchased and my post was NOT paid for or sponsored.) Click on the icons below each product picture to take you to your favorite store. 

7 Days of Halloween - Day 5 Skeleton X Ray

We are at day 5 of my 7 days of Halloween. Today we are using one of the new products from Tim Holtz called Alcohol Lift ink.  This product works with your alcohol inks and gives you a great result.


I used some dark colored alcohol ink for my skeleton background as I wanted to lift some of it up to make it look like an X-Ray.  If you want to see my process video, you can click on the link below. 


I created several panels and used one of the panels to die cut a film strip as well. The background was created using one of the stamp sets released last year called Haunted House. 

I didn't have a cob web stamp set, so the web was digitally created. Feel free to down load it and use it on your projects. 


I provided a list of the products I used to create this card below. Thanks for stopping by. 


7 Days of Halloween - Day 4 Postage Stamp

Welcome to day 4 of my 7 Days of Halloween series. I have had so much fun creating Halloween cards and today is one of my favorite designs. It is a very versatile design as I also used a similar design in my Christmas in July series featuring St. Nick.


If you would like to see my process video, you can check out the link below. 


I am featuring the Monstrous set which was one of Tim Holtz' release last year. It is a great Halloween set and a must for every collection. 


I used four of the monsters and created four similar cards, with a bit of difference. I embellished the cards using remnant rubs which were small enough to accent the card, but not take over the design.


You can find a complete list of the products below that I used to create these fun cards. Have you started your Halloween cards yet?

Thanks for stopping by!


SUPPLIES

Want to find the products I used? I have listed them below. (Compensated affiliate links used at no cost to you. Thank you!  All products were personally purchased and my post was NOT paid for or sponsored.) Click on the icons below each product picture to 

7 Days of Halloween - Day 3 Retro Halloween Cards

Hi everyone! It is day 3 of my 7 days of Halloween. Today I am sharing with you some retro Halloween cards I created with both digital images and the Retro Halloween stamp set from Tim Holtz.


I had great fun with this design. The colors are so vibrant and fun...and not to scary for the little ones.

You can check out my process video for these cards below. 


To create the backgrounds I used both stencils and washi tape for masking.  The distress line has some great neon colors that worked great for my backgrounds.


I used some great retro images for my focal point. These were cleaned up to create high quality digital images that you can find in my etsy shop. I also wanted to see if I could recreate a retro focal point using the Retro Halloween Stamps set from Stampers Anonymous.


This design is perfect for the little ones. It has just the right amount of spook without being to scary for the little ones this season. 

Thanks for stopping by. 
SUPPLIES

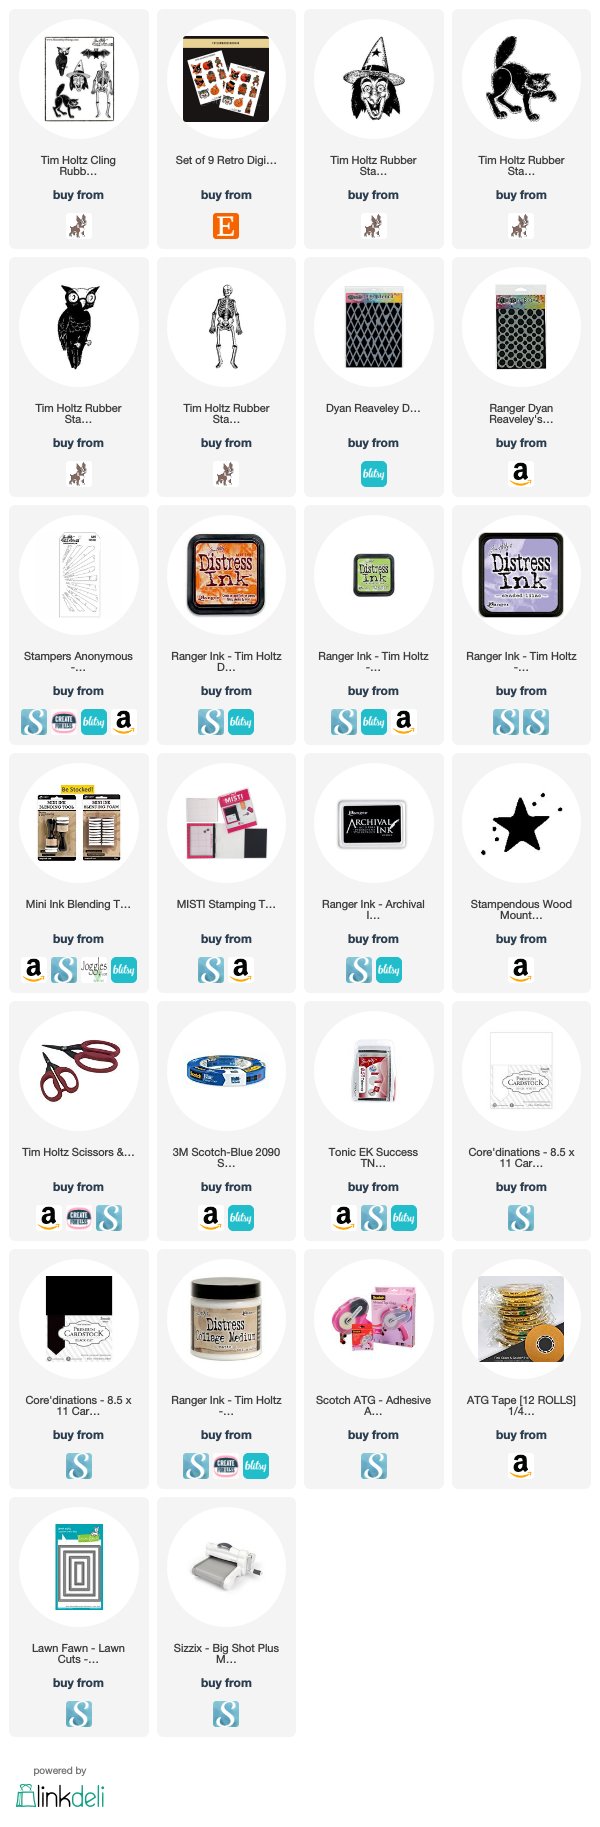
Want to find the products I used? I have listed them below. (Compensated affiliate links used at no cost to you. Thank you!  All products were personally purchased and my post was NOT paid for or sponsored.) Click on the icons below each product picture to go 

7 Days of Halloween: Traveling Zombie

Hello crafty friends. Today is the start of my 7 days of Halloween series. Over the next week, I will be sharing with you 7 cards using some of my new Halloween stamp releases as well as some from previous years.


My first card for you today is a Traveling Zombie. I am a huge walking dead fan, so this card is inspired by that series. I wanted to show you also how you can take non Halloween stamps and use them in your designs. 

You can see my complete process video below. 


The Zombie set was one of the releases this year from the Tim Holtz Stampers Anonymous collection. It is a great set with some quirky sentiments.  I can envision so many designs using this set.

It paired up wonderfully with my Time Traveler set.  My original idea was to turn my design into a passport card, but my Zombie was a little to big, so instead, I creates some fun Zombie ephemera and decorated the inside. 


You can find my Zombie ephemera over in my Etsy shop. I have also provided you a list of the products I used for my first card.


Thanks for stopping by!
SUPPLIES

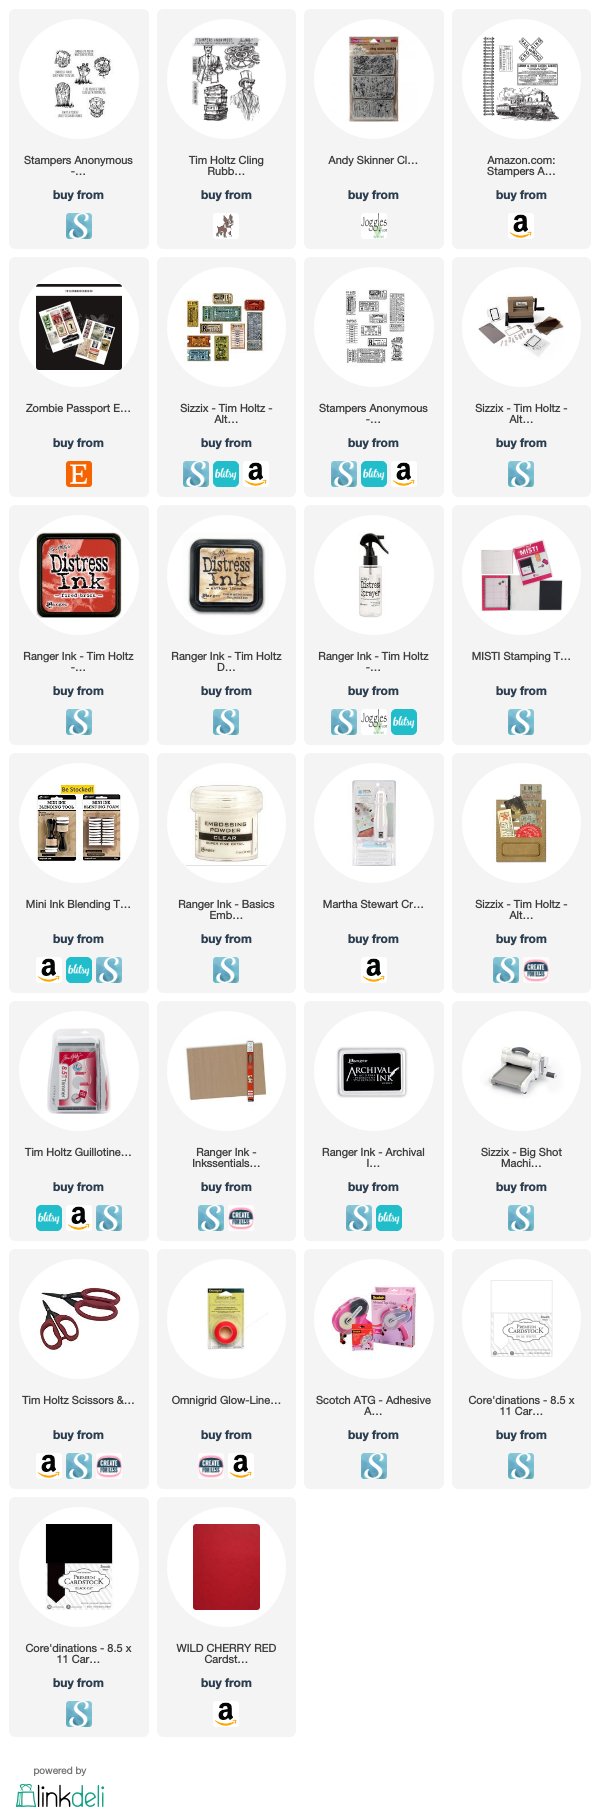
Want to find the products I used? I have listed them below. (Compensated affiliate links used at no cost to you. Thank you!  All products were personally purchased and my post was NOT paid for or sponsored.) Click on the icons below each product picture to go to a favorite store.

Match Box Ticket Holders

Hi everyone. I guess by now several of us have started to get the Halloween Spirit. Many of our favorite companies are starting to share their Halloween release and we are starting to create with some of the great items out there this season. 


Like many of you, I have lots of Halloween stamps and product in my stash, so I have been trying to use that up.  While cleaning out my craft room, I came across a box of match book boxes I picked up a few years ago at a craft sale.

You can check out my process video below.


These boxes were the perfect size to house some of my Halloween tickets that I have cut out using my Sizzix Ticket booth die set. 


I used washi tape to decorate the outside of my box and cut out some Halloween designer paper for the inside.

I then created some tickets using an old Graphic 45 stamp set. I also decided to take it a bit further and I created some of my own Halloween digital tickets that I sized perfected to use with my Sizzix ticket booth die set.

You can pick up those printables now in my Etsy shop. 


Thanks for stopping by.


SUPPLIES

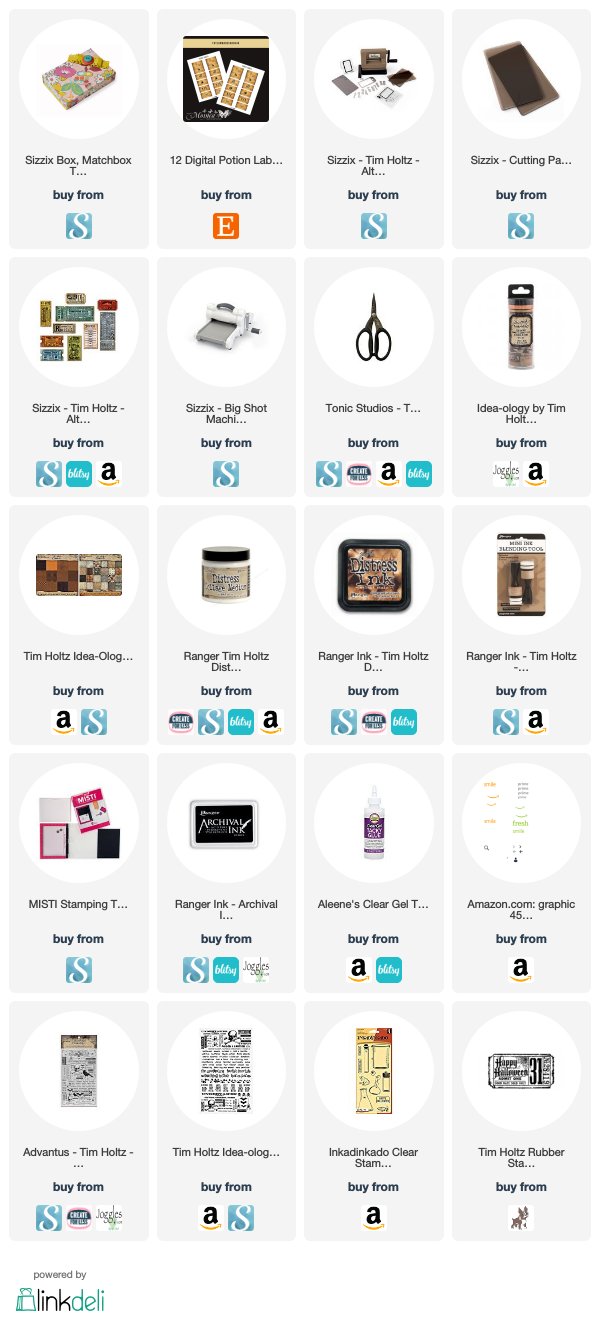
Want to find the products I used? I have listed them below. (Compensated affiliate links used at no cost to you. Thank you!  All products were personally purchased and my post was NOT paid for or sponsored.) Click on the icons below each product picture to go to a favorite store.

Featured Post

Challeng Winners - February & March 2023

   Hello everyone. As you may have noticed, I have been MIA for the last couple of months. Life has been very busy and it has been difficult...