Graphic 45 2018 Brand Ambassador Audition

Hello, Friends!
I have been a fan of Graphic 45 for as long as I have loved vintage. I was excited to see that they currently have an Ambassador Call going on right now, so I thought I would put my name in the hat, so to speak.  Now I know there are a lot of talented designers out there who love Graphic 45, so I decided to approach this just as another project and share my love for the product.
I have had the Ladies Diary set for over a year and a half. It is so beautiful that I didn't have the heart to cut into it until I had the perfect project in mind. I decided to create a travel journal for my niece who will be graduating this May. it will make the perfect keepsake. 

For the journal, I used the new Sizzix die cut. I also created matching tags to go along with this journal. 

What I love about the Graphic 45 sets is that you have most everything you need in it. The set has double sided card card stock, a Chipboard set and matching stickers.  
To begin, I adhered a 6" x 9.5" piece of paper onto some chipboard using Mod Podge. Using my Sizzix die, I cut the front and back panels of my journal. 
I adhered the front to the back using extreme double-sided Tape. Using the instructions on the Sizzix die, I threaded the journal to create binding for three signatures. 
Once my Journal panels were bound, it was time to decorate the front. I started out by adding some lace to the left side of the journal and some sticker lace to the right side. This framed the front of the journal nicely.
I then fussy cut the clock image from the card stock and adhered it under the lace. I also added word stickers from the set to create my journal title.

From there I created my focal point using a cloth doily and some chip board.  I added some stickers, paper flowers and pearls as added embellishments.

After the journal was complete, I still had lots of paper, chipboard and stickers to create my signatures. There are so many options when it comes to creating signatures from very simple to fancy folds. I made sure to add pocket tucks and lots of places to journal and add photos.

Thanks for stopping by!

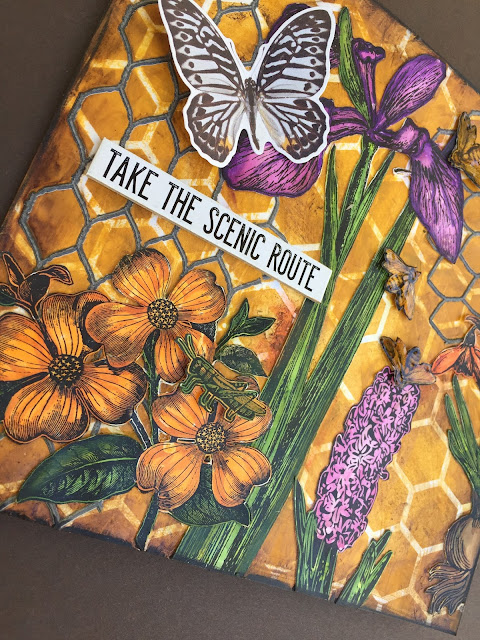
Taking the Scenic Route

Hello friends! I know many of you are still getting snow, but we here in Arizona are starting to see some long awaited blooms.


If you would like to see how I created this panel, you can see the video below.


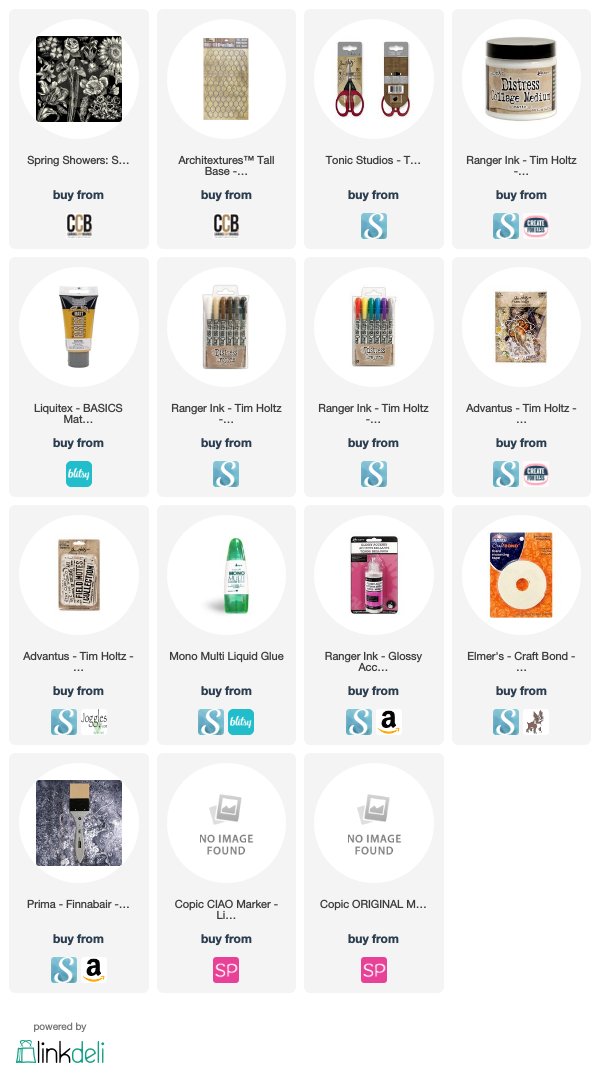
I created this panel to frame to remind me of Spring time in full bloom. I started out with a resist panel from from Heidi Swapp and added some Liquitex acrylic paint. Once that was dry, I added the Architexture chicken wire.


I fussy cut several flowers and images from Spring Showers Flowers on Ivory paper and adhered them to the panel using collage medium. I then colored the images using my copic markers. 


Once everything was colored, I sealed the colors in with more collage medium and added an ephemera butterfly and chip board from the Tim Holtz Idea-ology collection. 

Thanks for stopping by!

~Links to products in this blog post may be affiliate links. This means that when you click and shop, I make a small commission at no cost to you that goes towards the upkeep of this blog and my YouTube channel.~   

A country Road

Hi everyone! With Spring just around the corner, we are finally starting to see flowers start to bloom.  Soon people will start to plant their own gardens and barrels of herbs.  

I have two barrels that I plan on planting herbs in so when I saw these stamps, I knew I had to get them. 


The background was created using the stamp called Large Trail Scene
This is a fantastic stamp with so many possibilities.  I also used the barrel planter and wheel barrow as my focal points. I had two choices of signs, Weeds or Herbs. I decided to go with herb, but the weeks sign is also available over at I brake for stamps. 


Don't forget you can get 10% off your purchase over at I Brake for Stamps using my coupon code SAVE10MONICA.

Thanks for stopping by!


CCB Challenge Butterflies and Spring

Hello Crafty friends. I wanted to share with you my project for the challenge currently going on over at Canvas Corp Brands

We would love to have you play along this month! Our theme is Butterflies and Spring.  You can make anything you want, Cards, Scrapbook layouts, mixed media...your imagination is the limit. 


It is so easy to create layers using just a few products. 

To begin, I cut corrugated paper into a 5 x 7 tage and tore off some of the corrugated stips . I then added texture paste with a stence and added peeled paint distress crayon and spritzed it with some Rusty Red Glimmer Mist.


I then cut out a frame using a die cut and some corrugated paper. 


I adhered the frame with some glue and then attached some straws I created with some designer paper and twine. 


To further add to my layers, I added some die cut leaves and stickers.


Finally, I added my colored butterfly and my sentiment.

This was an easy project and so fun to create. I am not sure what I am going to do with the tag yet, but for now I just have it displayed in my craft room.

Thanks for stopping by!

It's all perspective!

Hi everyone! You know when you have an idea in your brain for a card design...and it turns out so much better than you imagined? Well, this is that card for me. 


I had seen a card that had a cityscape mirrored and I thought that would be fun to re create. But when I started stamping...the idea flourished and this is what I ended up with.  

The stamps that I am using are from I Brake for stamps. The Cityscape and the plan are from a stamp set called Full Sheet Travel, Planes and letters.   I wanted the view from the point of view of the plane to be exactly the same..so I created a mirrored image. The eye glass stamp is called glasses and the sentiment is from Tim Holtz. 


I flipped the card around and now the plane is on the other side, but the view view is exactly the same...it's all perspective!

Don't forget you can get 10% off your purchase over at I Brake for Stamps using my coupon code SAVE10MONICA.

Thanks for stopping by!


7Gypsies meets Tim Holtz!

Hi crafty friends. Today I am here to share with you a wall hanging I created for Canvas Corp "Friday with Friends" segment. This project was featured last week on the CCB blog , so I thought I should probably share it on my blog as well. 


I have been a fan of Tim Holtz probably as long as I have been a fan of 7gypsies. They both play so well together that it is easy to mix and match to create wonderful vintage projects. 

While shadow boxes can be a bit of a big project to take on, I decided to share with you a faux shadow box using some great products from the 7gypsies Architexture line along with some idea-ology from Tim Holtz. 


STEP 1

Cut paper to 9″ x 9″ and distressed edges with Distress ink – Walnut stain. Adhere it to 12 x 12 Canvas Corp ~ Postal printed cardboard.


STEP 2

Add 8 x 8 paper from 7gypsies Architextures paper pad, to create the faux vignette boxes.


STEP 3

Add ephemera, 7gypies Architexture Findings and elements from 7gypsies Architextures Junque Packs


STEP 4

Use Distress Collage medium to adhere ephemera and paper items.


STEP 5

Add 7gypsies Architextures Treasures ~ Sunshine Coffee Jar to create a great focal point. Then, add paper doll from the Tim Holtz idea-ology collection. Stamp images and add 7gypsies Architextures Coins for added interest.


STEP 6

Use distress crayon – walnut stain to edges of Canvas Corp printed cardboard and add a knob at top 


This was a fun project to create. I got to play with lots of my favorite products and ended up with a really fun wall hanging. 

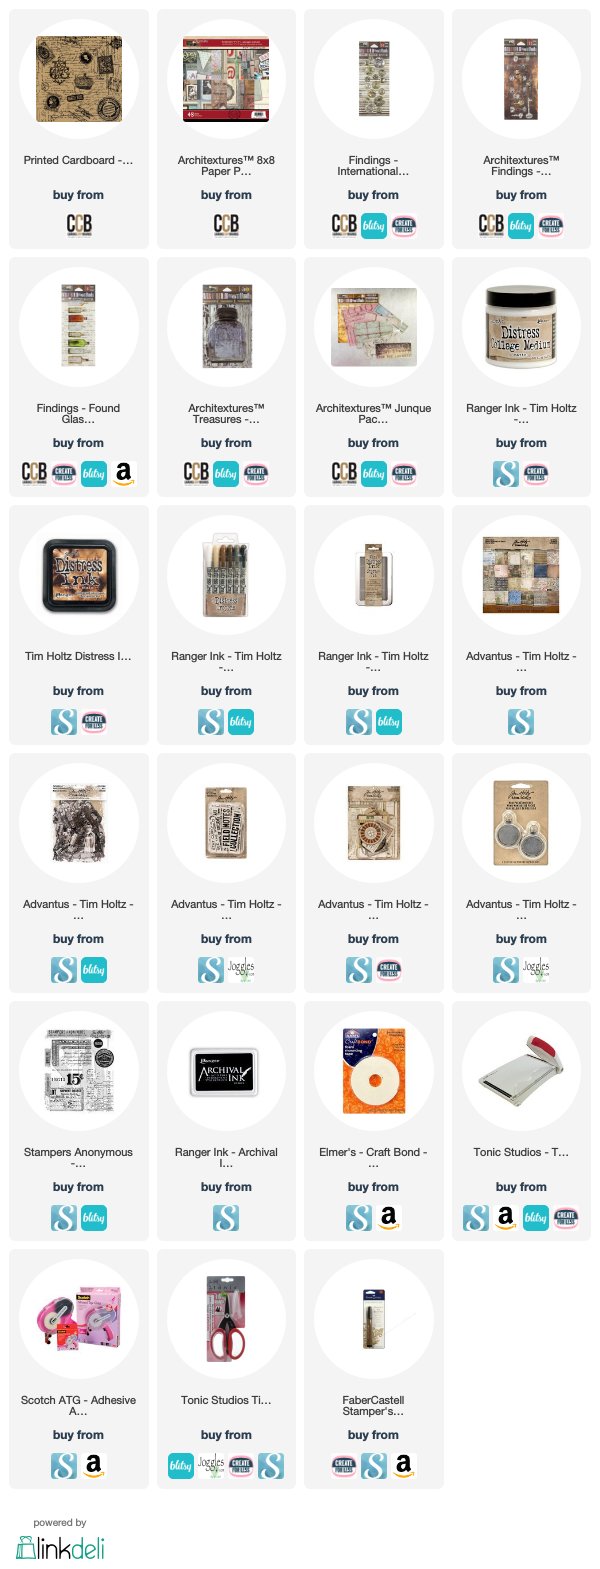
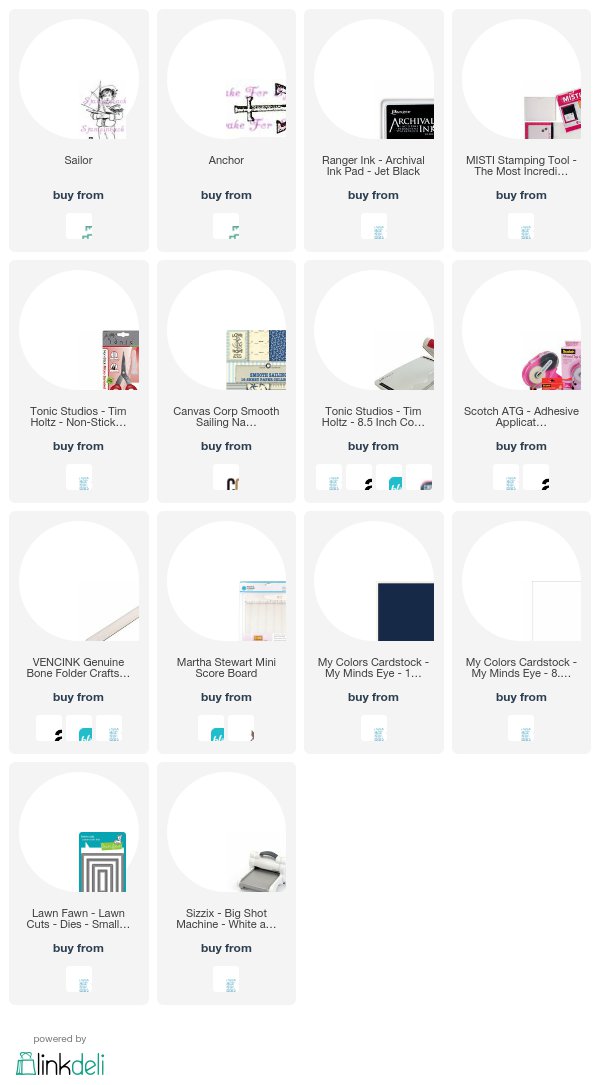
I have include links to the products I have used in this project it you would like to give it a go. Good luck!


~Links to products in this blog post may be affiliate links. This means that when you click and shop, I make a small commission at no cost to you that goes towards the upkeep of this blog and my YouTube channel.~   

Easter Sunday !

Hi everyone! I know we are all anxious for Spring...and with Spring comes Easter. I decided to create an Easter card this year and share with you this cute little girl holding a bunny from I brake for stamps. 


I just love this little girl! The stamp is called Sunday Best. She was great for this little Easter scene.


I colored up this large flower to use as my background. Each piece, including the little girl was fussy cut to create a scene.I also had a fence die cut that was a great addition to my background.

Don't forget you can get 10% off your purchase over at I Brake for Stamps using my coupon code SAVE10MONICA.


Follow your BLISS!

It's truly the simple things in life that make me happy! A good cup of coffee, a great book and enjoying my BLISS!


I love creating these heritage cards and the printables from VectoriaDesigns make it so simple.  I love that I can re create this background over and over again and never run out of paper. Printables are also great because it requires no storage. I just print it when I need it. 


The background set I used is called Grunge ephemera digital and it is from VectoriaDesigns. I used two stamp sets from STAMPlorations for this card. One is called Follow your Arrow and the other is called Good Books and Coffee. STAMPGIRLMONICA gets you 20% off over at STAMPLORATIONS.


This second card was created using the same paper stack from VectoriaDesigns. I also used the stamp set called Purveyor from Stampers Anonymous.

I was able to use my Stamp Platform to get a perfect image every time!

Thanks for stopping by!


Nautical Gift Set


Hello crafty friends. Yesterday I shared with you a cute little sailor card. Today I wanted to share with you the complete set I created including a Nautical travel Journal. 


To create the travel journal I cut the corrugated paper 8″ x 8. 5″. For each insert I cut the paper 8″ x8″.


On the pages that did not have a design, I added some distress Oxide ink to give them some color.


I used cute little stamps to decorate the insides of my journals. 


I cut down an envelope to measure 4″ and placed it in the center of my journal. I then punched 3 holes starting from the center to bind my journal. I bound the journal using some DMC navy blue thread and and needle. The binding was done in the middle of the envelope, which was sealed to hide the thread. I tied some blue rope to the back binding to be used to close the journal.


I had enough scraps to create 4 A6 size cards. Each card design was a little different from the next, but the theme was consistent.


I used the Nautical Sayings paper to add cute little sentiments and phrases on each card.


I matted the inside of the card and added a little anchor stamp to continue the theme.


To finish off the set, I also created a 5″ x 7″ card.

This was my very first travel journal, but it went together pretty easily.
Having matching paper to create the scene helped the project come together nicely.


Thanks for stopping by!

~Links to products in this blog post may be affiliate links. This means that when you click and shop, I make a small commission at no cost to you that goes towards the upkeep of this blog and my YouTube channel.~   

Featured Post

Challeng Winners - February & March 2023

   Hello everyone. As you may have noticed, I have been MIA for the last couple of months. Life has been very busy and it has been difficult...