Even the simplest things bring me joy. I know we all have note pads in our homes, some in every room. I am sharing with you today some fun little decorated note books I created using my scallop die cut and Architextures finding and junque packs.

You can find my process in the video below.
There are several Treasures that will work. I found that the long vertical ones worked best with my scallop die.

I adhered some double sided adhesive to some heavy thickboard and adhered some of the junque pack panels. I then cut them out using my big shot and scallop die.

The packaging works great to decorate the inside of the covers.

Using walnut stain distress ink, I using my dauber to distress the edges.

I cut out 15 more panels of cardstock using the scallop die and adhered everything with a metal ring.

These were so fun to make that I created a few form my home.

Thanks for stopping by!

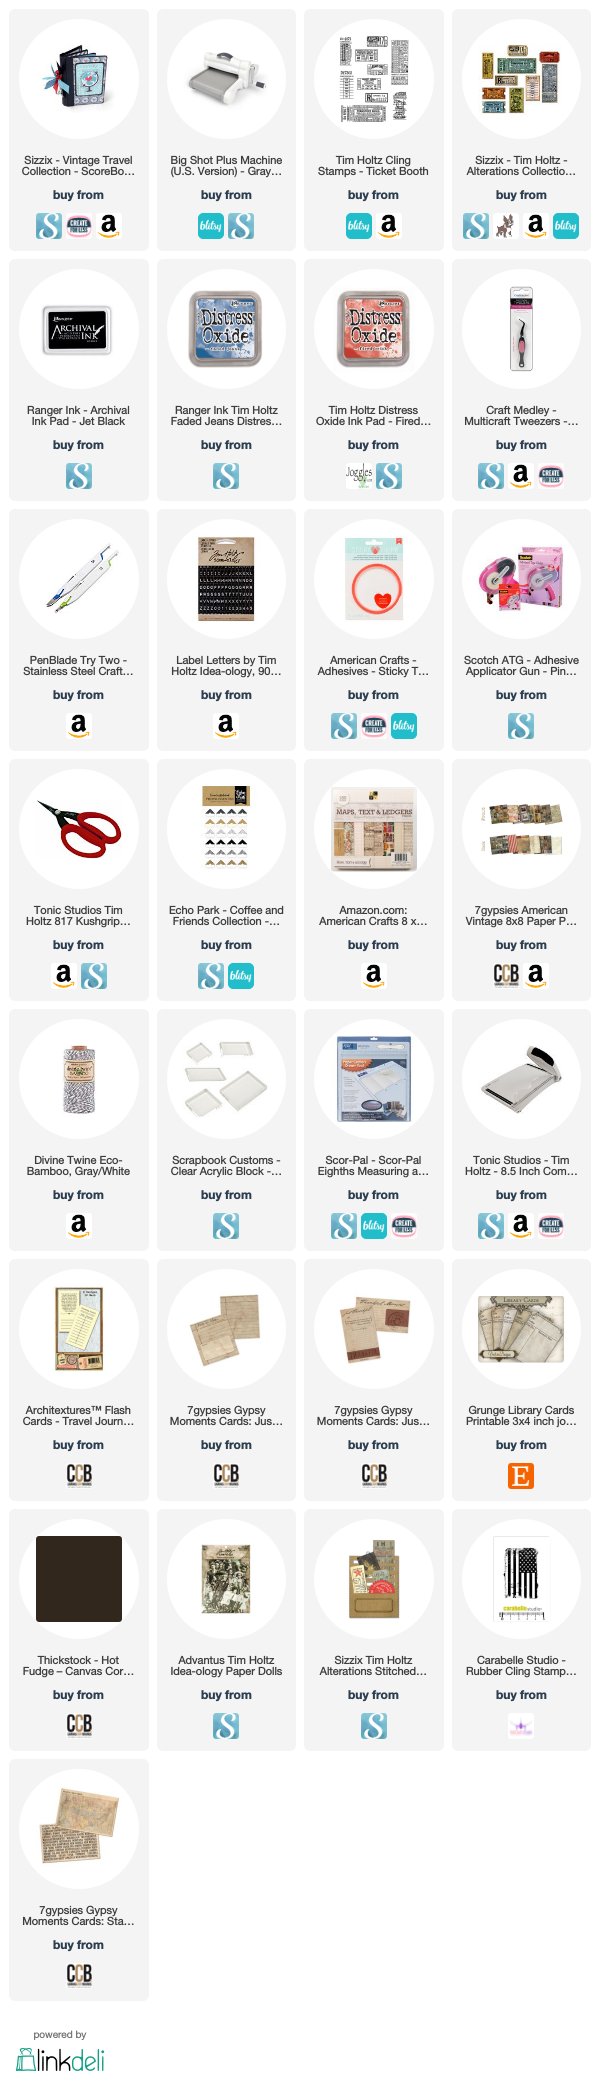
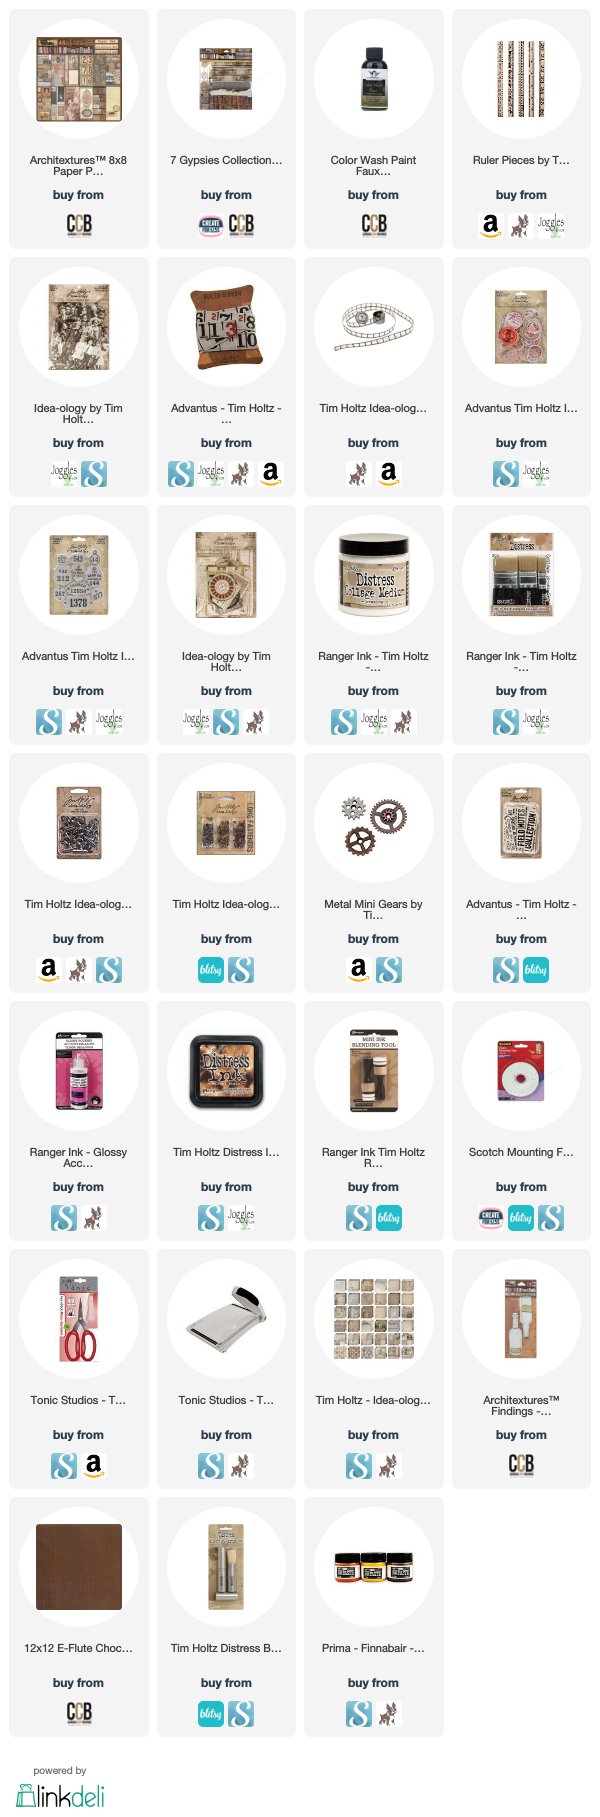
SUPPLIES