Today I am creating a Halloween card, but I am taking it a step further...I decided to take it a step further and share with you how I decorate the inside of my cards as well as create matching envelopes.

The designer paper I am using today is from 7gypsies and it is the Wicket Gypsy Collection. The 12 x 12 paper is called Costume Ball. It is the perfect weight for an envelope and has designs on both sides.
Be sure to check out my video below so that you can see how i created this card and matching envelope.
The sentiment I used is from my Literature Quotes Digital set that can be found in my Etsy shop. I also used some Halloween Clipping Stickers, a word band and an iron Fence Findings piece from Architextures for my background.

I also finished off the inside of my card using some of the same designer paper from 7gypsies as well as a matching envelope.

To Create my envelope, I used my Envelope punch. I am also incorporating my Friday Freebie into this post and sharing with you the label I created to use on this card. Feel free to down load for your personal use. I also have a set of labels available with lots of other fun saying for Halloween. You can check out the link below.

Now remember this is a blog hop, so be sure to check out the next blog listed below for some more Fall inspiration.
Scrappy Cafe (Betz Golden)
Papierstau (Sanna Lippert)
Marie Nicole Designs (Marie Heiderscheit)
Steph Ackerman
The Crafty Robin
Monica Taylor (You are here)
Karla Yungwirth
Lynne Joncas
Priya Satish
Erin Reed
Natassa Blazaki
Peggy Lee Baker
Nadine Carlier
Jaine Drake
Christine Santo
Viktoriya Porechnay
Hema VelCraft
Linda Israel

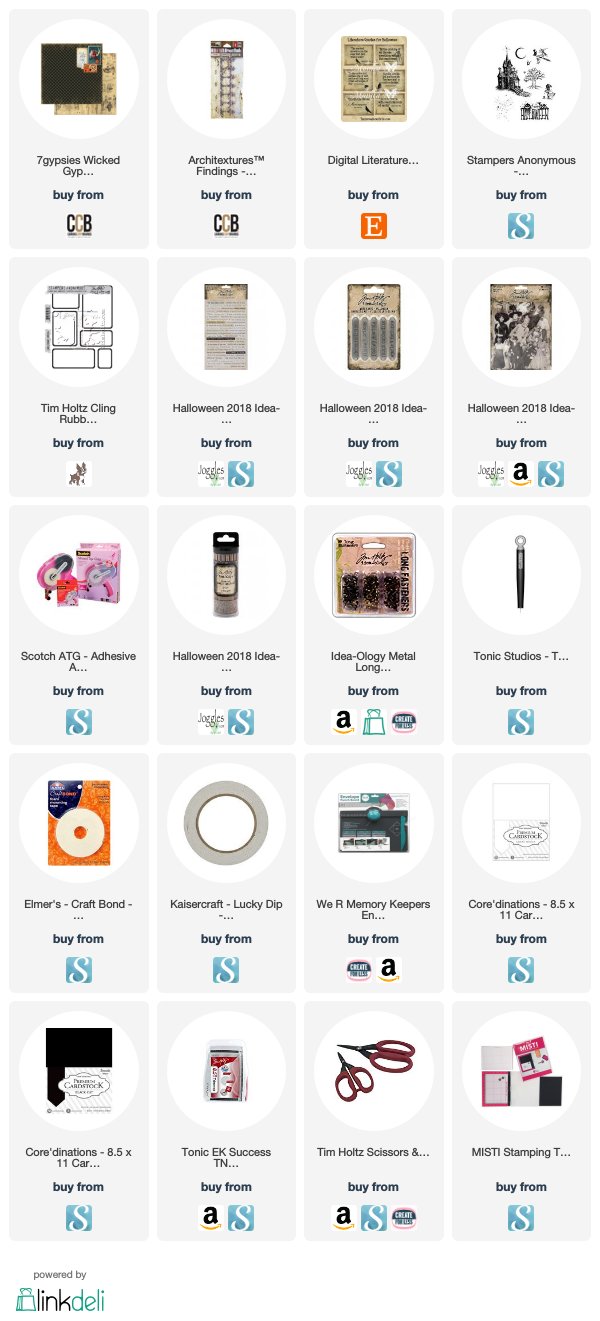
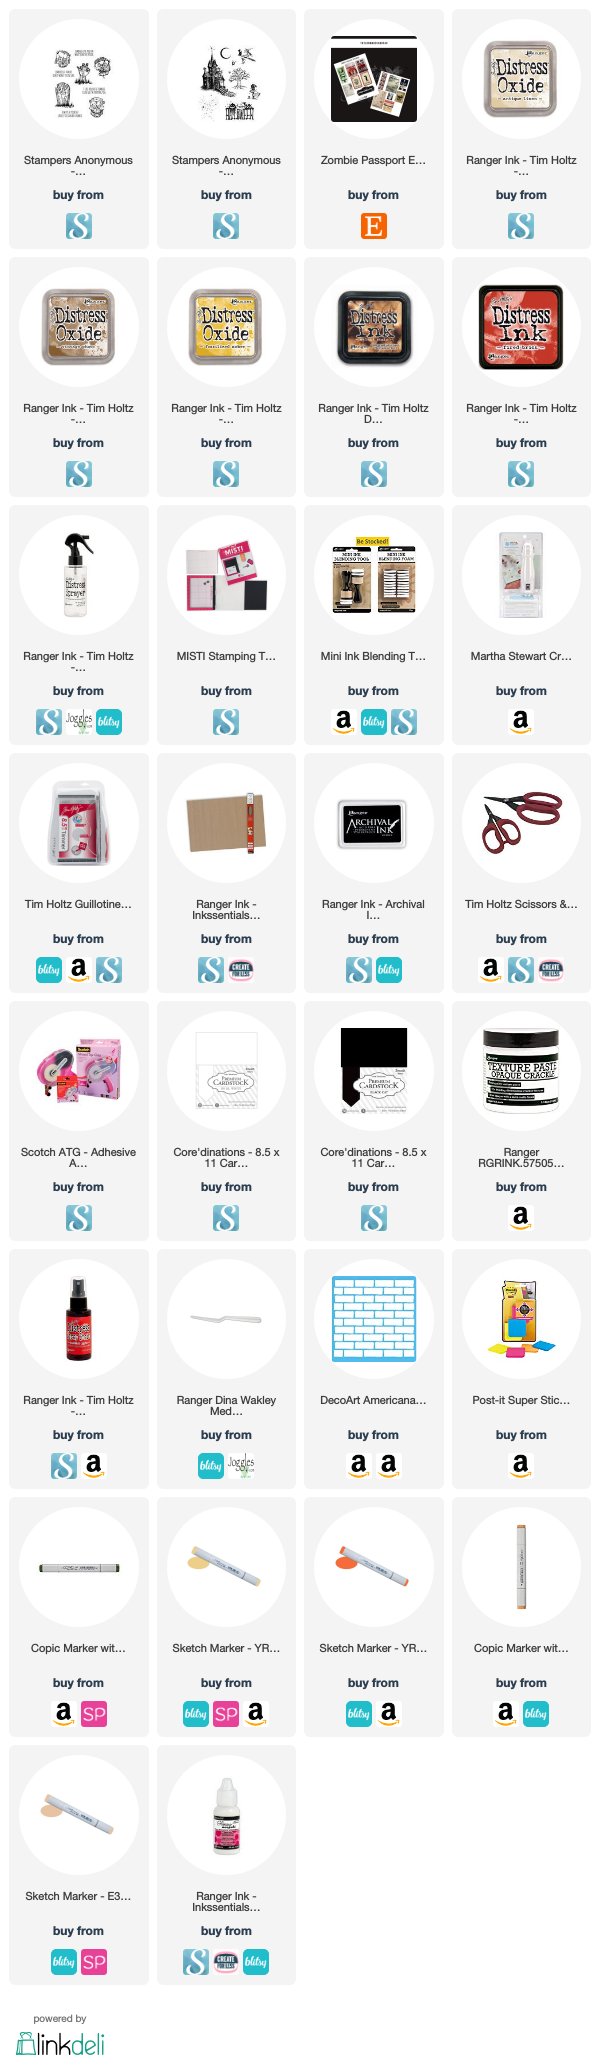
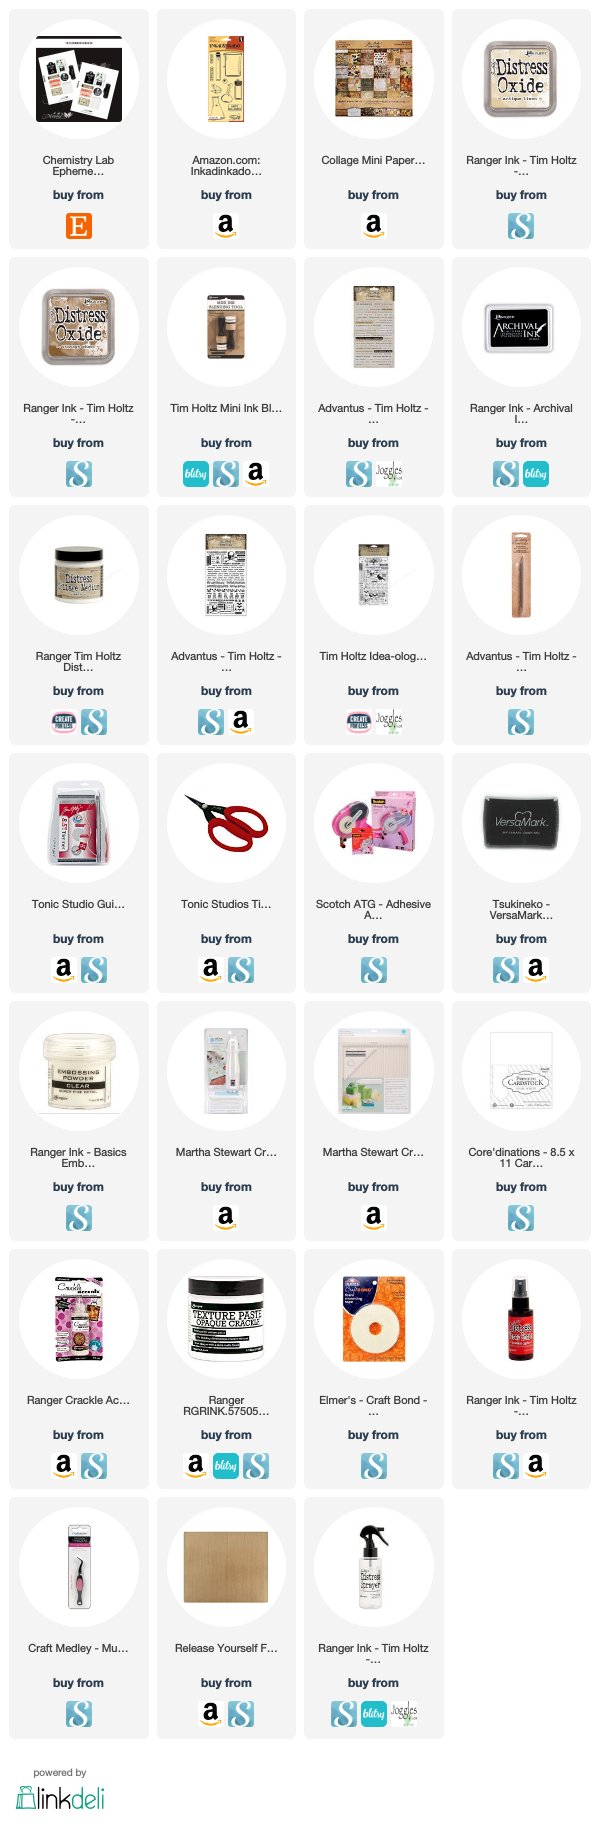
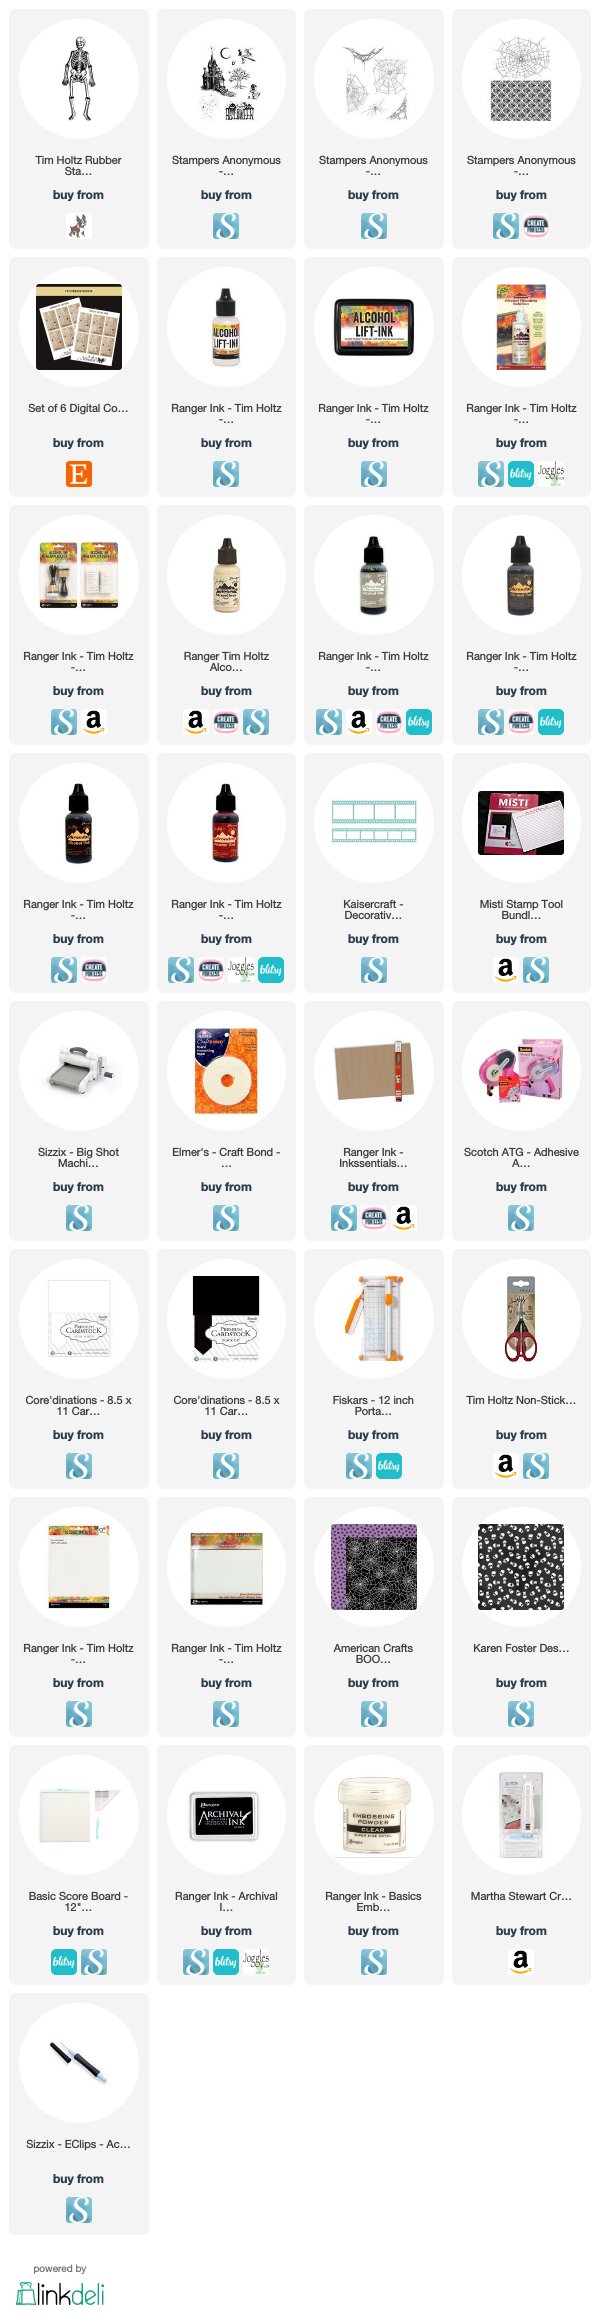
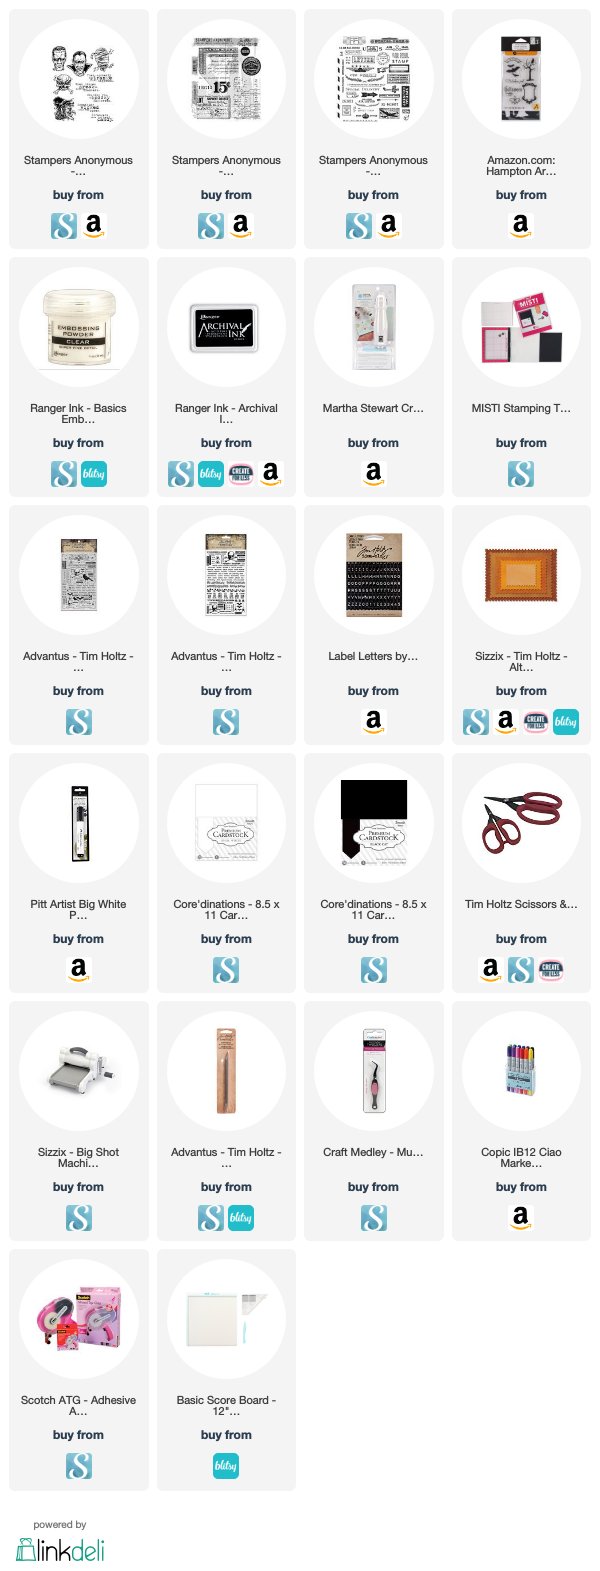
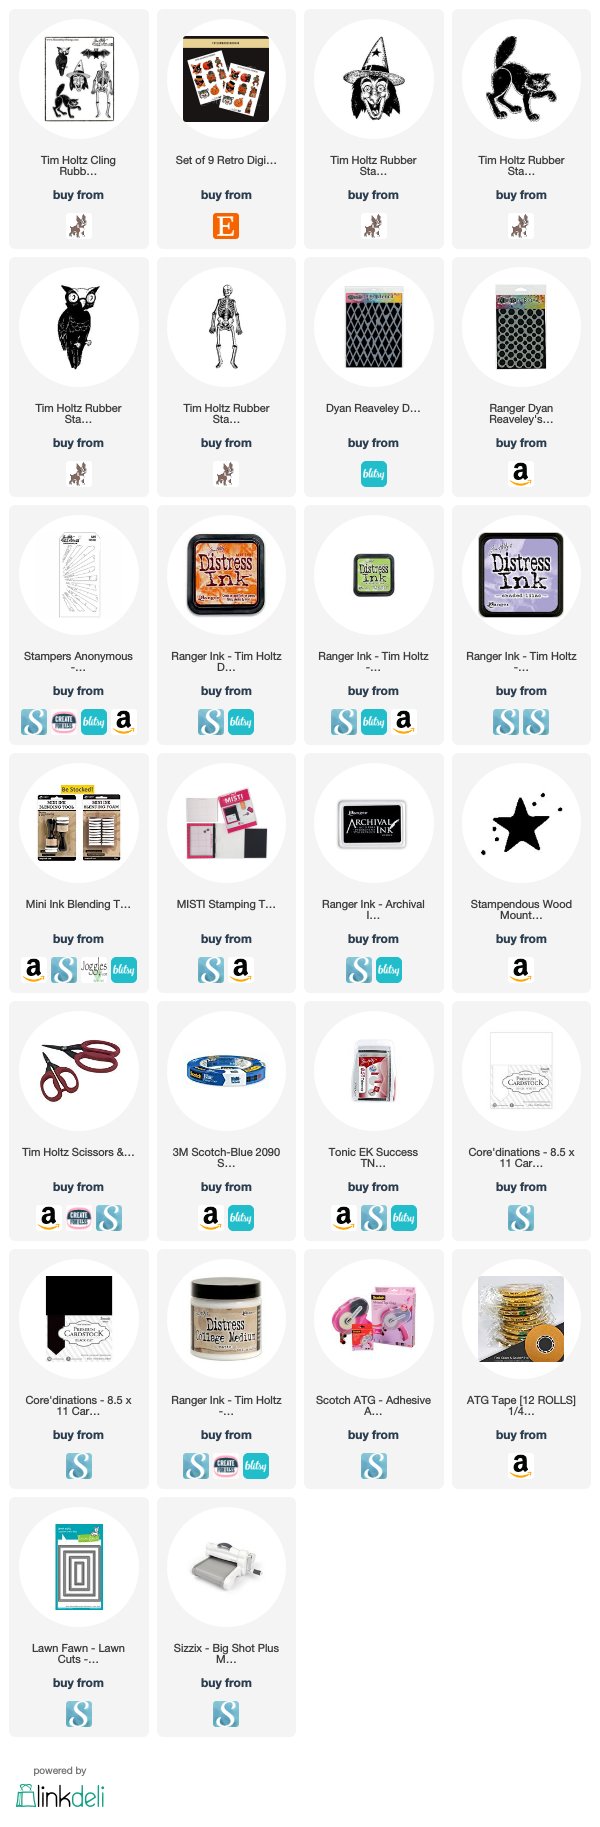
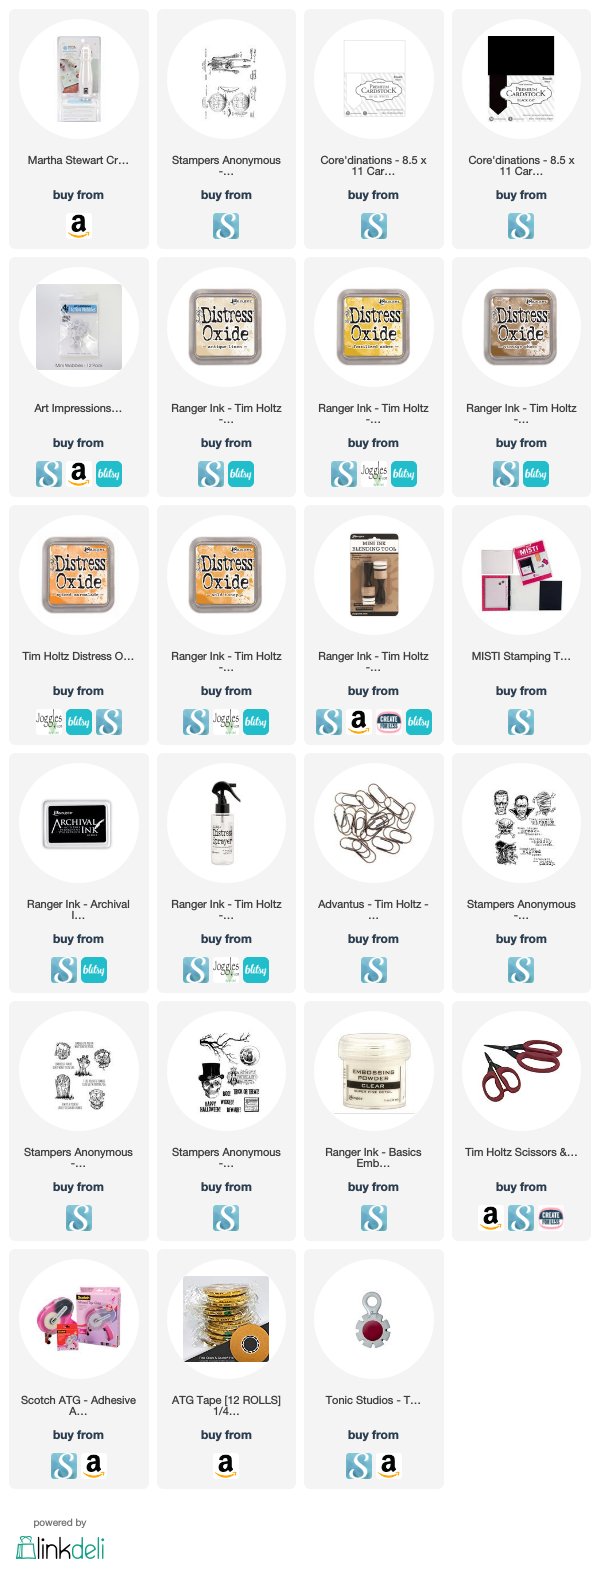
SUPPLIES
Want to find the products I used? I have listed them below. (Compensated affiliate links used at no cost to you. Thank you! All products were personally purchased and my post was NOT paid for or sponsored.) Click on the icons below each product picture to take you to your favorite store.