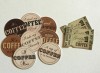
Hi everyone! It is day three and I have another card to share. I had to make a coffee gift card for my sister anyway, so this worked out great.
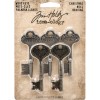
I am using the last bit of my Tim Holtz Christmas paper stack. It sure has gotten a lot of use this season. This die cut is from the Tim Holtz collection and I never get tired of using it. it is definitely a classic.
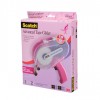
I picked up the washi tape at my local Michael's shop. It is cute and works perfect on my coffee cup! It is simple, but it does the trick.
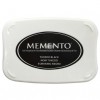
Hi everyone and welcome back to day 2 of the Winter Coffee Lover's Blog hop. Today I am using one of my new stamps from STAMPlorations called Strong Women. It was designed by a very talented artist Becca Cruger. She has several more stamps in her stamp line called Big Grins including some Coffee theme'd stamps, so be sure to check out her line.
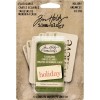
This is a very simple card design as I wanted to focus on the message. I used a new die cut also from STAMPlorations in their CUTplorations line called Crazy Double Running Stitch.
I am putting together a card set for my sister's to use next year as this is the gift I give them every Christmas. This will be part of one of the sets. There are several other sentiments in this set, so perhaps I will make a few more.
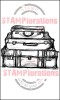
It is day 1 of the Winter Coffee Lover's blog hop! I love these blog hops as I know many of you do as well. I look forward to them every season! I decided for my first card to make a non traditional Christmas card. I just purchased a new stamp from StamPlorations and I was anxious to use it.
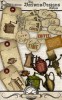
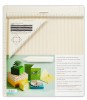
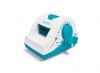
There is a lot of traveling during the holiday season, so I decided to use my new suitcase stamp and combine it with Coffee to have a Coffee Travel card. I used some fun printables from VectoriaDesigns to create some stickers and Coffee paper from Canvas Corp Brand to cut out the Coffee circles.
I grunged up the suitcases with my distress crayons and adhered my images with Vintage Distress Collage Medium. I finished off the card by adding some Tim Holtz Washi tape to incorporate a Christmas theme.
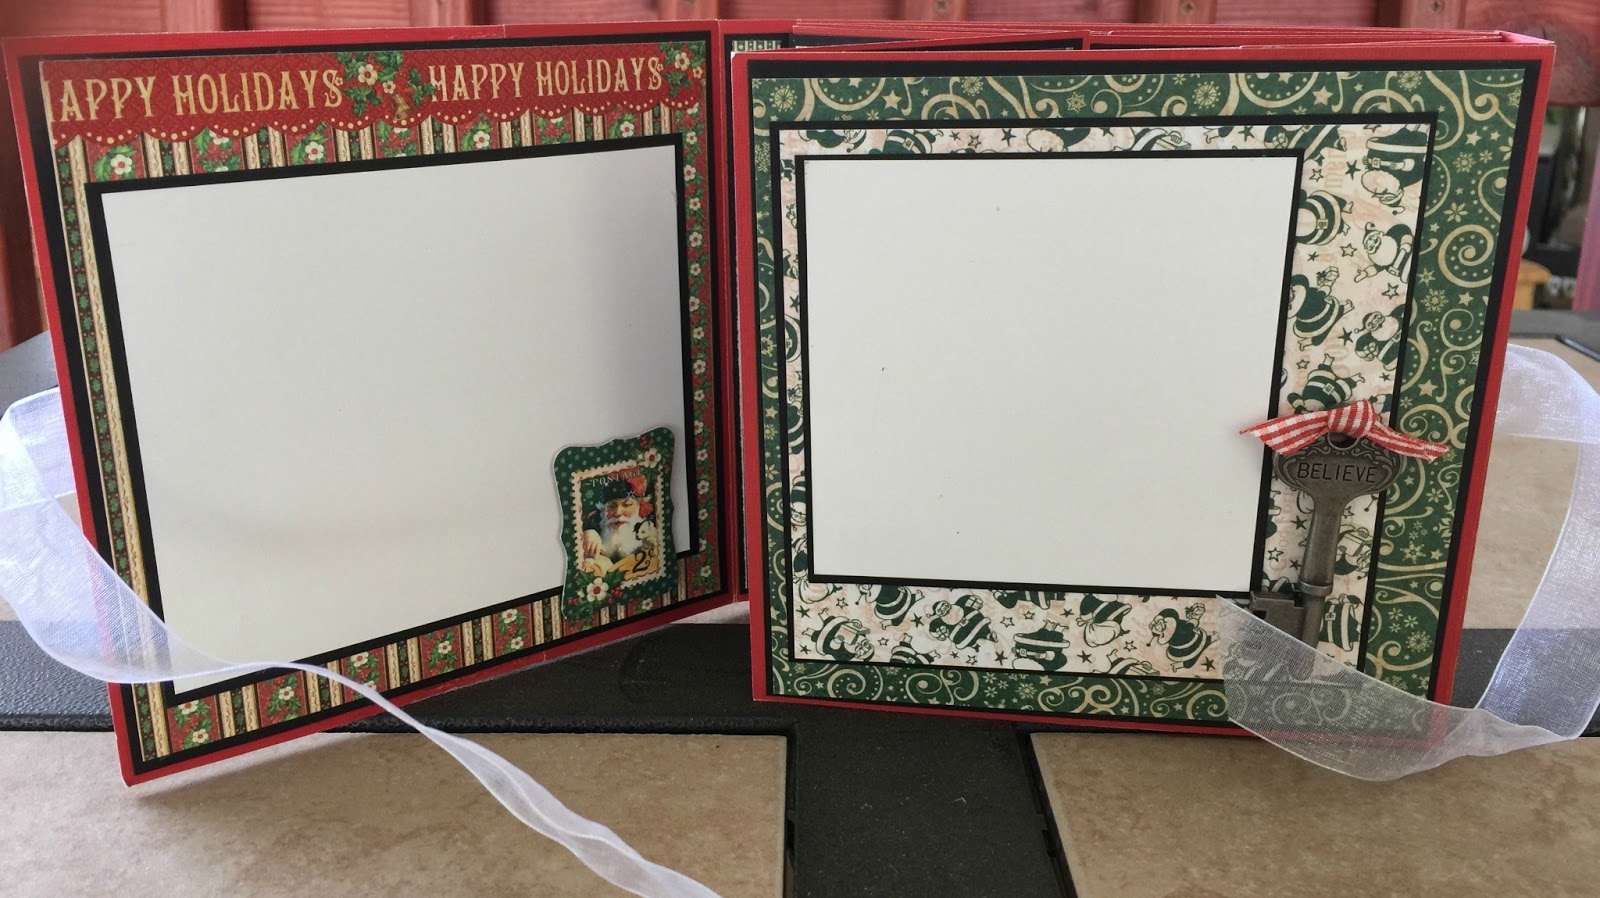
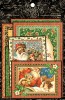
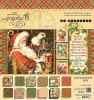
Hi everyone. I am here today to share with you a memory flip book I created using the St. Nicholas collection from Graphic 45. I love flip books, but boy are they a lot of work!
I have made two other of these books in the past, but not since last Valentine's Day. I am hopeful to create several more in 2017
The finished book measures 6 x 6 x 3/4 inches. I have provide some directions below. To see this book you can visit my You Tube Channel in the link below.
I did CASE this flip book from another designer, Gloria Stengel and her blog is called Scraps of Life.
The book has several pages and has some fun folds. The pages have little pockets for tags and plenty of place for pictures and Journal notes.
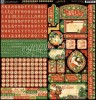
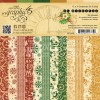
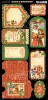
Graphic 45 has many products such as post cards, chip boards and stickers that match the collection perfectly.
I plan on doing a full video tutorial next month so be sure and subscribe to my channel so that you don't miss out.
1.Cut (1) 6 x 12 piece of cardstock. Score at 2 1/4, 3, 9, and 9 3/4 inches.
2.Cut (4) 6 x 6 pieces of cardstock.
3.Attach 2 pieces of 6 x 6 cardstock to the 2 1/4 inch left flap at the 2 1/4 inch fold, sandwiching the flap between the cardstock. Repeat the process by attaching the other 2 pieces of 6 x 6 cardstock to the 2 1/4 inch right flap.
4.You will end up with a base page that is 6 inches tall and 19 1/2 inches wide. Score again at 6 and 6 3/4 inches from each end. This is your Album Base. Set this aside.
5.Cut (3) pieces of cardstock to 6 x 12 inches. Score each piece at 3 and 9 inches. Attach the three pieces of cardstock together by the 3 x 6 inch flaps to form a 6 x 24 inch section that has a center section with "doors."
6.Fold the two 3-inch center flaps towards the center.
7.Fold the 3-inch right flap in and fold the 6-inch right panel towards the center.
8.Fold the 3-inch left flap in and fold the 6-inch left panel towards the center. Now you have the Album Core. Once it is folded, it will measure 6 x 6 inches.
9.Attach the Album Core to the inside 6x6 center panel of your Album Base, by attaching adhesive to the back of the Album Core and placing it onto the center of the Album Base.
10.Fold the right panel to the center.
11.Fold the left cover panel to the center. (It may be helpful to label your “naked” panels and flaps prior to decorating.)