Match Box Ticket Holders

Hi everyone. I guess by now several of us have started to get the Halloween Spirit. Many of our favorite companies are starting to share their Halloween release and we are starting to create with some of the great items out there this season. 


Like many of you, I have lots of Halloween stamps and product in my stash, so I have been trying to use that up.  While cleaning out my craft room, I came across a box of match book boxes I picked up a few years ago at a craft sale.

You can check out my process video below.


These boxes were the perfect size to house some of my Halloween tickets that I have cut out using my Sizzix Ticket booth die set. 


I used washi tape to decorate the outside of my box and cut out some Halloween designer paper for the inside.

I then created some tickets using an old Graphic 45 stamp set. I also decided to take it a bit further and I created some of my own Halloween digital tickets that I sized perfected to use with my Sizzix ticket booth die set.

You can pick up those printables now in my Etsy shop. 


Thanks for stopping by.


SUPPLIES

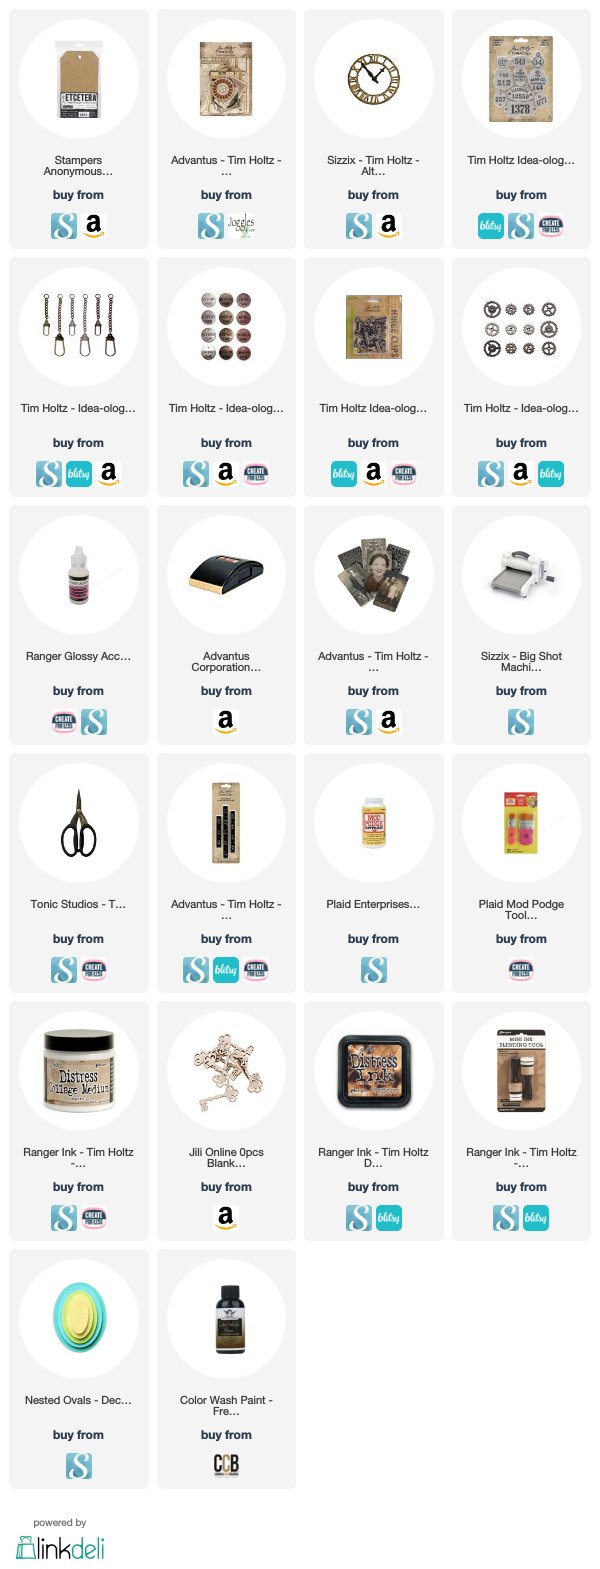
Want to find the products I used? I have listed them below. (Compensated affiliate links used at no cost to you. Thank you!  All products were personally purchased and my post was NOT paid for or sponsored.) Click on the icons below each product picture to go to a favorite store.
Coffee Before Candy

Hi everyone!I have been creating a lot of Halloween cards recently getting ready for my 7 days of Halloween series on my You Tube channel.  I also have been trying my hand at some graphics that I can then utilize in some of my creations.


I wanted to share with you a recent creation that can be used for some Halloween cards for Coffee lovers!  It is a fun take on a sign that would be displayed Halloween night to let those trick or treaters know where you stand. 


This is a PNG image that can be downloaded and resized for some of your projects. If you do decide to use it, please leave me a comment and let me know you were here.  I would also appreciate you crediting me in any of your posts.

You can find more of my fun digital images over in my etsy shop.

Thanks for stopping by and I hope you enjoy the image!


The simple life - Altered Thickboard Tag

Hello crafty friends. I have been admiring these thickboards for some time. Emma Williams from from Stickydots makes beautiful Altered Thickboards and I have been admiring them for sometime. 

I finally decided to try my hand at a smaller version and I think I am hooked.


If you would like to see my process video, you can check out the link below. 


When you first look at a project like this, it can be a bit intimidating. So I decided to create a video to walk you through my process.


This is a very simple layout, that can be changed up for many occasions.  The focal point is of course the framed image, which can be any type of image, depending on your design.


The tag can sit on an easel or hang on a wall. It is a perfect accent in any room of the house. 

I have listed the products that I used below for your convenience.
Thanks so much for stopping by. 

SUPPLIES

Want to find the products I used? I have listed them below. (Compensated affiliate links used at no cost to you. Thank you!  All products were personally purchased and my post was NOT paid for or sponsored.) Click on the icons below each product picture to go to a favorite store.

Cheese , Wine & Friends Wall Hanging

Hello everyone! I am here today to share with you a project I created using a recycled cheese board I found at a local thrift shop and product from Canvas Corp Brands.


This project was a lot of fun to create and will make a great wall hanging in my Kitchen. Let me walk you through my process. 


I first gathered some product from 7Gypsies Architextures and Tattered Angels.


Then I painted the cutting board using French Roast Color Wash Paint.


I cut out a piece of background paper from the Architextures Pad #2 collection and adhered it to the cheese board with some Mod Podge.  Then I cut down some adhesive embellishments from one of the Junque Packs to frame the paper.  I added some stars and faux screws to the base. 


Once I was happy with the background, I added a Wine Bottle and cork Screw from the architextures collection and finished it off with a metal tag on the top.

Thanks for stopping by!
SUPPLIES

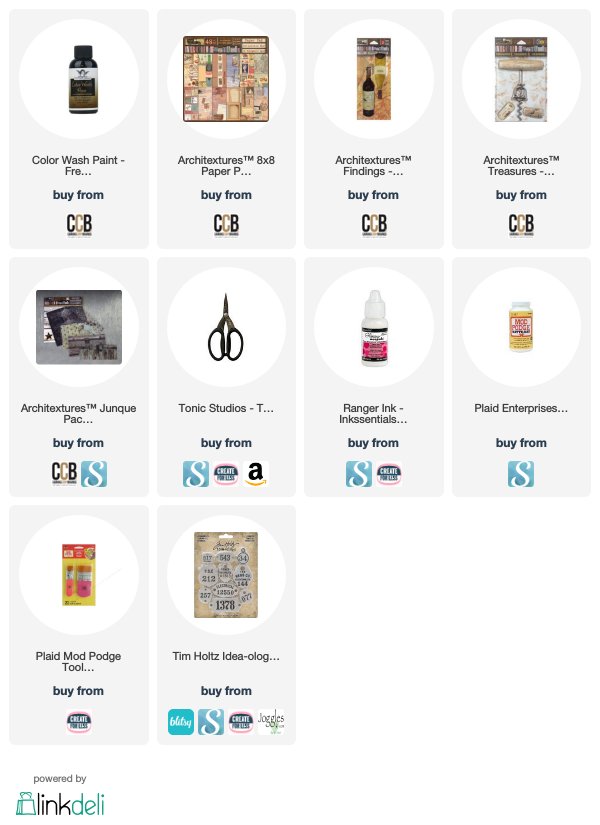
Want to find the products I used? I have listed them below. (Compensated affiliate links used at no cost to you. Thank you!  All products were personally purchased and my post was NOT paid for or sponsored.) Click on the icons below each product picture to go to a favorite store.


Detective passport Book

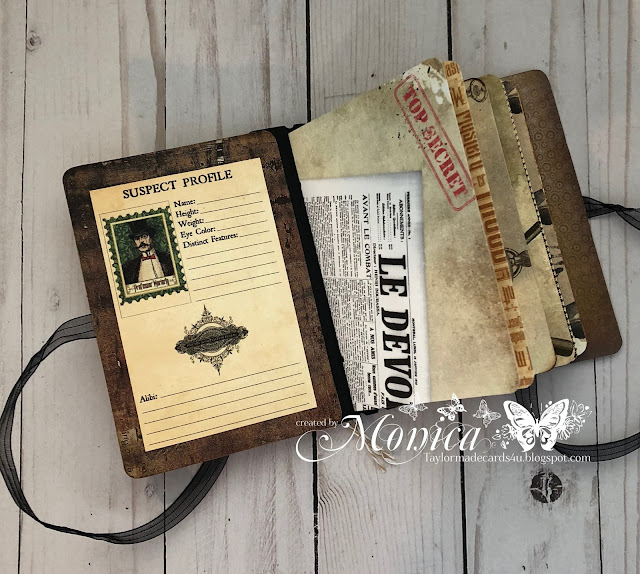
Hi everyone! I wanted to share with you one of my passport books I created using some printables from one of my favorite etsy shops. I created this Detective theme Book using some printables from VectoriaDesigns.


If you would like to see a video sharing this book you can check it out below.


The base and the pages were created using a die cut from Eileen Hull. I have gotten so much use out of this die, creating several different theme'd passport books. 

 VectoriaDesigns has lots of digital images and designs to choose from, You can create so many different types of themes.


I love creating little pockets and tucks to add all of my ephemera pieces.


Little stickers are great additions to the pages. 


I also added a tie so that I can close my book. It sometimes tends to get a little thick.


Thanks for stopping by!
SUPPLIES

Want to find the products I used? I have listed them below. (Compensated affiliate links used at no cost to you. Thank you!  All products were personally purchased and my post was NOT paid for or sponsored.) Click on the icons below each product picture to go to a favorite store.

Poison Beer...oh my!

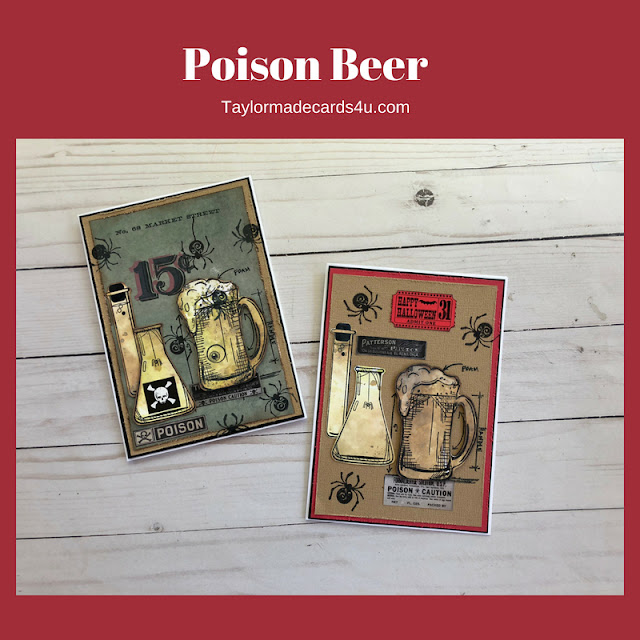
Hi friends! Yesterday I shared with you a Halloween card with the similar theme of the two cards below. I had the Beer Blue Print stamp set out and I think I was a little mad...with the addiction of creating.


It is so fun to create Halloween cards. I am really looking forward to the season. Every year I do a 7 days of Halloween series on my you tube channel and I wanted to give you a little taste of what is to come. 

If you would like to see my process video for this card on the left, you can check out the video below. 


Tim Holtz has not released his newest Halloween stash, so I decided to create a Halloween card(s) with one of the sets in my stash.  I believe, for the most part, you can turn any stamp set into a seasonal design. it just takes a little creativity. 


I have also been tinkering with creating some of my own ephemera. I created these Poison labels that are currently available in my etsy shop. So be sure to check them out if you are in need of some labels for your projects. They can be instantly downloaded and re sized. I am offering 25% off on my digital images until August 15th. 


Digital images


I have also posted a list of all the product that I used on these cards. Be sure to check out the video to see how I created the coloring for the beer and test tubes.

Thanks for stopping by!


SUPPLIES
Want to find the products I used? I have listed them below. (Compensated affiliate links used at no cost to you. Thank you!  All products were personally purchased and my post was NOT paid for or sponsored.) Click on the icons below each product picture to go to a favorite store.

Toil & Trouble

Hi everyone! Now that my Christmas in July series is over, I can now start creating some of my favorite types of cards and projects...Halloween!


This year I decided to share some of my digital images that I have created for my cards. The Toil and Trouble background is one of my designs, along with the poison label. I created some backgrounds for the beer bottles using my distress oxide inks.


Toil & Trouble

I am really pleased at how this project turned out. I hope to have a video out soon showing you how I created these great bottles, which as you can see, be used for some of your Halloween projects.

Thanks for stopping by. 


SUPPLIES
Want to find the products I used? I have listed them below. (Compensated affiliate links used at no cost to you. Thank you!  All products were personally purchased and my post was NOT paid for or sponsored.) Click on the icons below each product picture to go to a favorite store

Coffee and Creepers!

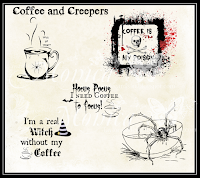
Hi everyone! I just finished my Christmas in July series and now it is time to start thinking about my fall cards. I thought it would be fun to create some Halloween Coffee sentiments and images that i can use for some of my Halloween cards. 


If you have never used digital images, they are so easy to use! You can just download them and import them onto your word documents.  What is great about digital images, is you can also re size them to any size you need, which makes them so versatile. 


For my first card, I used a stitched rectangular die cut around my sentiment and added a few creepy spiders. 

My second card also features some creepers, but have not gotten into my coffee just yet!

I also have a few other sentiments and another creeper image with a much larger spider! They will all make great projects!  I have added links below if you are interested in purchasing my Coffee and Creepers set.

Thanks so much for stopping by!


 Coffee and Creepers


Featured Post

Challeng Winners - February & March 2023

   Hello everyone. As you may have noticed, I have been MIA for the last couple of months. Life has been very busy and it has been difficult...