Victorian Christmas Carolers

Hi everyone, I am back today to share with you my final card in my Christmas in July series.  It has been a lot of fun creating Christmas projects this month and hopefully you will be walking away with some ideas for your holiday projects. 


If you would like to see the step by step process in the creation of this card, you can check out the video below. 


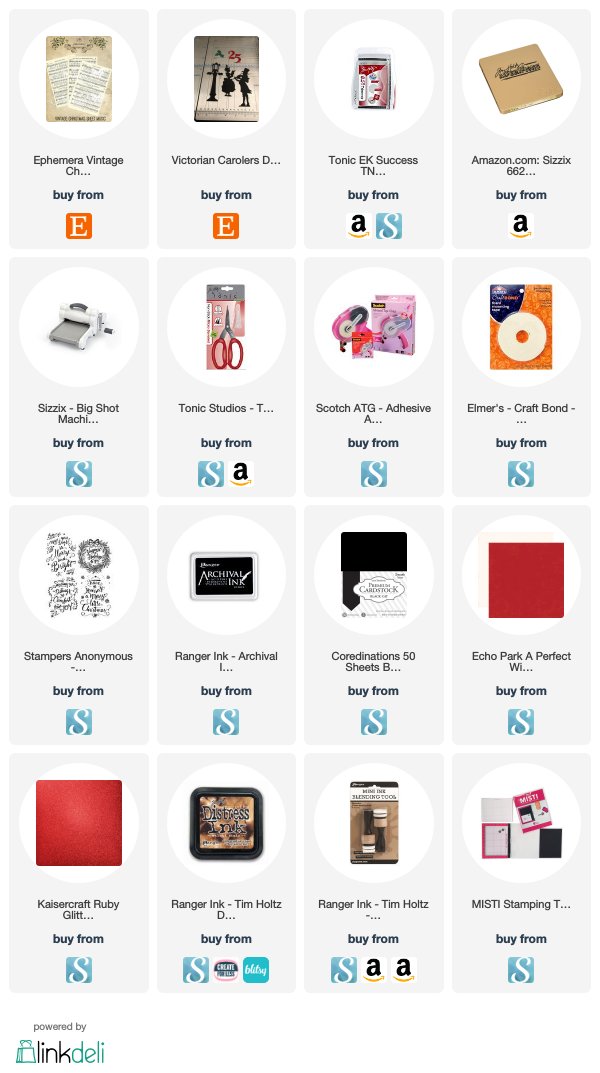
These dies are from some of my older collections of Tim Holtz Christmas dies, but they are so traditional I can use them year after year.  I love the Victorian Christmas Carolers. For a slightly different design, you can even add a vintage lamp post.

Don't forget I will be doing a giveaway over on my you tube channel, so be sure to check it out.

Thanks so much for stopping by and I hope you enjoyed the series.

SUPPLIES
Want to find the products I used? I have listed them below. (Compensated affiliate links used at no cost to you. Thank you!  All products were personally purchased and my post was NOT paid for or sponsored.) Click on the icons below each product picture to go to a favorite store

Santa Postage Stamp

Hello everyone and welcome to week 4 of my Christmas in July series.  Today I created a Christmas Postage Stamp for you. While it may be a little big for an envelope, it is perfect to use on many of your Christmas projects!


If you would like to see my process, you can check out my video below. 


These two stamp sets are probably my favorite Tim Holtz Stamps sets. I often use the Etcetera set for many of my designs, while the Jolly Santa only comes out during the holidays. I may need to try and figure out a way to use him all year long!


The design was pretty easy, and there are so many creations you can create! I used my Santa Postage stamp for a Christmas Card and also a Christmas tag.  I also colored him using some copic markers, but I think the design would look just as good black and white. 

Next week will be my last video. If you have not been following along, be sure to check them out as I will be drawing names for 3 Christmas Care packages. All the details are in my videos.

I have listed all the products I used to create these two designs below.  

Thanks for stopping by!

SUPPLIES
Want to find the products I used? I have listed them below. (Compensated affiliate links used at no cost to you. Thank you!  All products were personally purchased and my post was NOT paid for or sponsored.) Click on the icons below each product picture to go to a favorite store

Ticket Christmas Ornaments

Hi everyone and welcome back to week 3 of my Christmas in July series. This week I am showing you how to create tags that can be used as ornaments or fun decor for your holiday packages.


To see how I created these, click on my video below.


The die cuts I used are the BIGZ dies and are pretty old. I am not sure you can find them in your local retail shops. To help you re create this project, I have cut out some of these big ticket bases that you can purchase and use for your projects. You can also purchase the full tag kit as well. 


To create these tags, I cut out some Christmas designer paper from the Bigz ticket die.  I then used Perfect paper adhesive to adhere the paper.  I distressed the edges using some Walnut Stain distress ink 


I cut some mini tags using my sidekick and adhered it to the ticket base. then I added my paper dolls and word chip.  

For the second tag, I used a mini ticket die to house my smaller paper dolls. I added "25" using some collage medium.  I punched a whole in the middle or on the sides, depending on the design and added some twine.

The small paper dolls from Tim Holtz worked perfectly on these tags. They are fun decorations that can be used on your Christmas Tree or to decorate a special gift.

Thanks for stopping by. 


SUPPLIES
Want to find the products I used? I have listed them below. (Compensated affiliate links used at no cost to you. Thank you!  All products were personally purchased and my post was NOT paid for or sponsored.) Click on the icons below each product picture to go to a favorite store.

Christmas in July - Week 2 layered backgrounds

Hi everyone and welcome to week two of my Christmas in July series. This week we are creating a layered background using some texture paste, stencils and ephemera. 


If you would like to see my process video, you can check out the link below. 


This is one of my favorite techniques. It is one of the easier techniques in my opinion, but many people seem to have difficulty with this one.  Perhaps because it is all about aesthetics.  


When I am creating my layered card, I try several variations of my background until I get it exactly how i want it. Once I am happy with the background, I take a picture of it so that I have a visual to re create the layout.


To create the background, I used a Tim Holtz stencil, and some texture paste.  Once the texture paste was dry, I added some color using some distress crayons. I also added some gold highlights using some Nuvo paste. 

When layering my ephemera, I begin by just adding collage medium to the middle part of the ephemera. This enables me to add layers under as well as over pieces that have already been adhered.  


Once I have all my pieces partially adhered, I go back and add my collage medium to securely adhere my ephemera completely.

Once my background was complete, I added my paper doll as well as my metal element.  

Don't forget, I am doing a giveaway for my Christmas in July series, so be sure to stop by my You tube channel to see what you need to do to be entered into my drawing.

Thanks for stopping by!


SUPPLIES
Want to find the products I used? I have listed them below. (Compensated affiliate links used at no cost to you. Thank you!  All products were personally purchased and my post was NOT paid for or sponsored.) Click on the icons below each product picture to go to a favorite store.

Happy Birthday Shery - STAMPlorations

Hi everyone and welcome to our Birthday celebration! We are celebrating Shery's birthday who is the owner of STAMPlorations!  

It has been a privilege to be part of the design team and I am so thankful we  have such a wonder leader and friend in Shery!


I decided to go traditional and create a black and white birthday card. I created the background using a stencil and some texture paste.  To create a little more interest, I added some washi tape.

finally I stamped my happy birthday sentiment with some black archival ink.

Be sure to check out the shop as there is a sale going on right now that will get you 25% off! 


Thanks for stopping by!


Christmas in July - Week 1

Hello crafty friends and Merry Christmas!!? What? Yes I said Merry Christmas! All month long I will be celebrating Christmas in July! I will be creating a Christmas project every week and sharing it with you. I hope to give you some inspiration and ideas so you can have a head start on your holiday projects.


For my first project, I created a Polar Express theme'd Christmas card. I used the Pocket die from Tim Holtz that houses a printed Polar Express ticket.

If you would like to see my process video, you can check it out here. 


The tickets were free printables I found on Pinterest. I created links below so you can find them as well. This ticket was created by TGIF-This Grandma is fun. You can download her printable, but you will need to re size it.  I resized the ticket below and it fits perfectly for use with Sizzix Ticket Booth Die set.


The Smaller ticket was created by Par-tay like a Cherry. I resized this ticket as well to fit into one of the smaller ticket die cuts.
I was able to resize both tickets so that I could die cut them using my Ticket Booth Sizzix die cut. The bigger ticket fit perfectly into my pocket die and the smaller ticket was easily adhered so that it did not obstruct the larger ticket from sliding all the way down the pocket die.


Now what would Christmas in July be without prizes? Be sure to check out my you tube channel to get all the information on entering into my drawing at the end of the month.

Thanks for stopping by!

SUPPLIES
Want to find the products I used? I have listed them below. (Compensated affiliate links used at no cost to you. Thank you!  All products were personally purchased and my post was NOT paid for or sponsored.) Click on the icons below each product picture to go to a favorite store

Travelers Postcard Notebook

Whenever I go on trips, I like to collect pieces of ephemera to remind me of my adventure. These could be ticket stubs to museums, receipts and even hotel stationary.


I also like to make little notes to document our memories. I created this Patriotic Post Card Journal to capture such moments for travels through the U.S.A. 

Using the Sizzix die cut, Cut out the Front, Back and binding of the Book from the Hot Fudge Thickstock. Cut out the Red and white paper and Blue and white Floral paper using the same die set and adhere to the Brown Thickstock


Cut out 12 pages using the die cut from various Americana theme'd paper Packs.

Book has three signatures. Each Signature has 4 pages. Bind these signatures together using the twine.

Create pockets using scraps of the Paper to tuck journal cards and ephemera

Cut out mini post cards from the American Vintage Paper Pack and add to various tucks and pockets. Decorate outside of Book With Patriotic ephemera, stamps and Paper doll.

This is a fun little keepsake book that is great for travels; it has room for notes and tucks to save receipts, tickets and ephemera collected along the way. It’s everything you need to keep track on your travels.

I have also linked this project up over at SSS Monday Challenge where the theme is red, white and blue. 
Thanks for stopping by!
SUPPLIES
Want to find the products I used? I have listed them below. (Compensated affiliate links used at no cost to you. Thank you!  All products were personally purchased and my post was NOT paid for or sponsored.) Click on the icons below each product picture to go to a favorite store.

Art Journals for beginners - July page

Hello everyone and happy July!  Can you believe that we are 7 months into the year and this is my 7th art journal page? Well, living in the US, of course I had to use the "4th of July" theme for this month's page. 


If you would like to see my process video, you can click on the link below. 


I had a basic idea of what I wanted to do with this page, but like many of my other pages, once I started, I let the page lead me. 

I started out with some washi tape and started my layers from there.

My focal image is the little girl holding the flag. This is from the Tim Holtz paper dolls collection.


 I also use two stamps. the first one is the liberty bell from I Brake for Stamps and the American flag from Carabelle  Studio.


I also wanted to have a bold sentiment so I used one half of my page to stamp out my sentiment "Let Freedom Ring".

I hope you all have a great month and for those of you in the USA, have a great 4th of July!

SUPPLIES
Want to find the products I used? I have listed them below. (Compensated affiliate links used at no cost to you. Thank you!  All products were personally purchased and my post was NOT paid for or sponsored.) Click on the icons below each product picture to go to a favorite store.

Featured Post

Challeng Winners - February & March 2023

   Hello everyone. As you may have noticed, I have been MIA for the last couple of months. Life has been very busy and it has been difficult...